

Step 1: Select the Add Ticket button in the top-right corner or having option in Top Header > Log Ticekt Icon. The Create Ticket form opens.
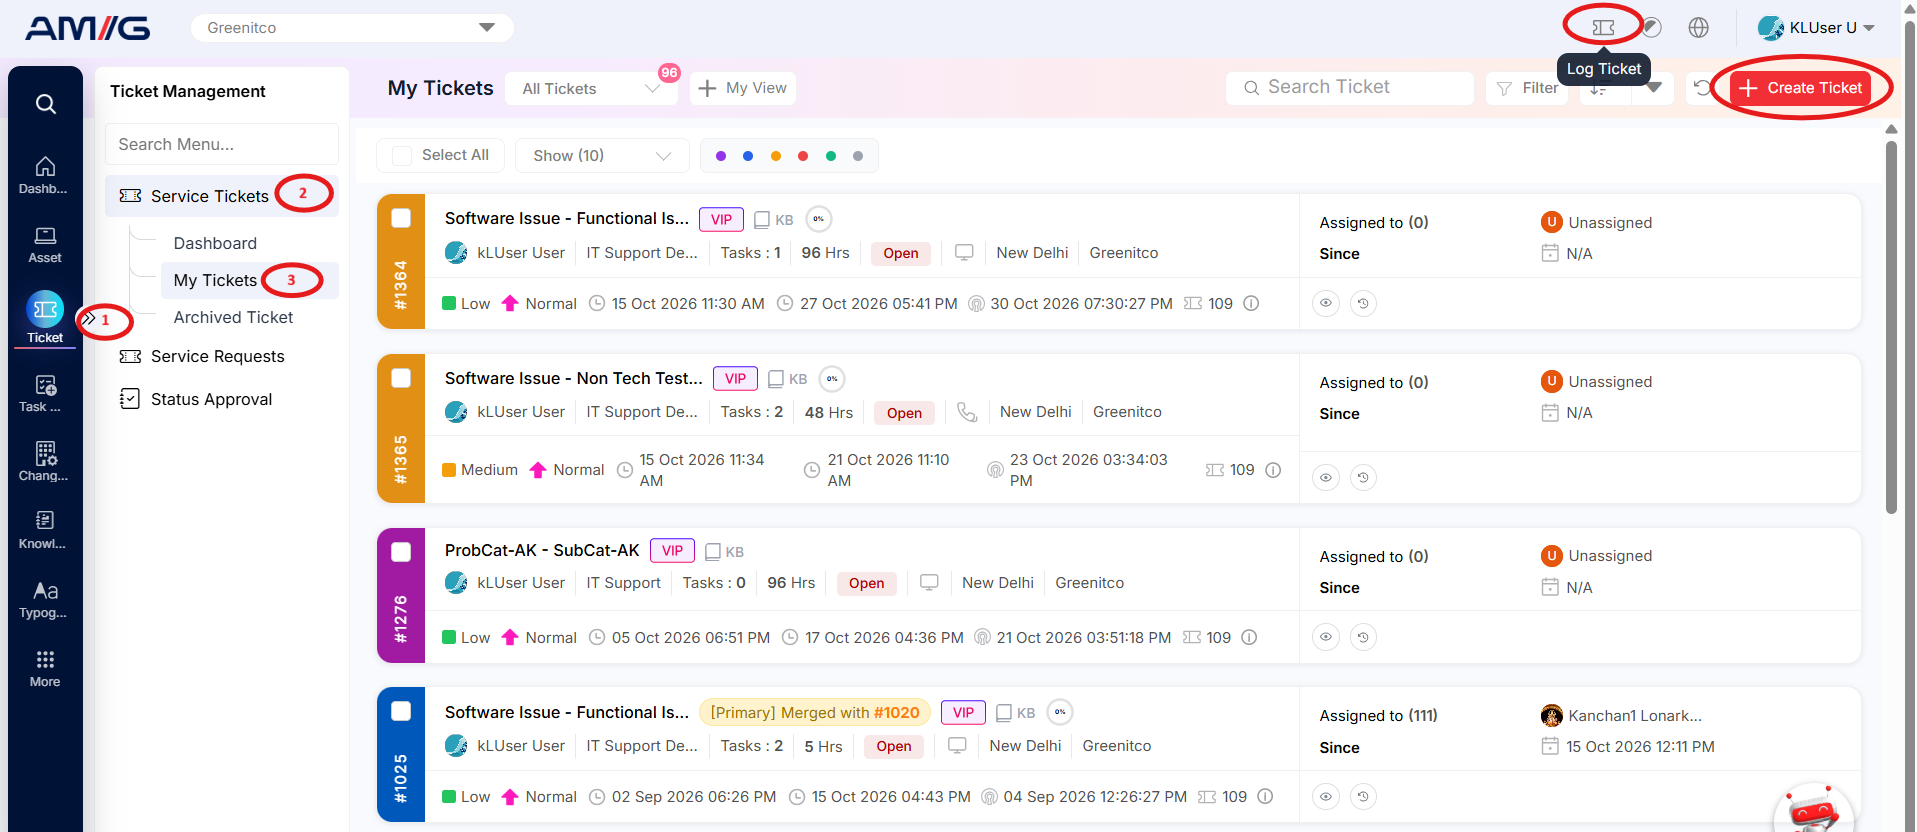
Step 2: Select the required Company, Department, User (Ticket Raiser) and Problem Category. Complete the other fields as applicable.
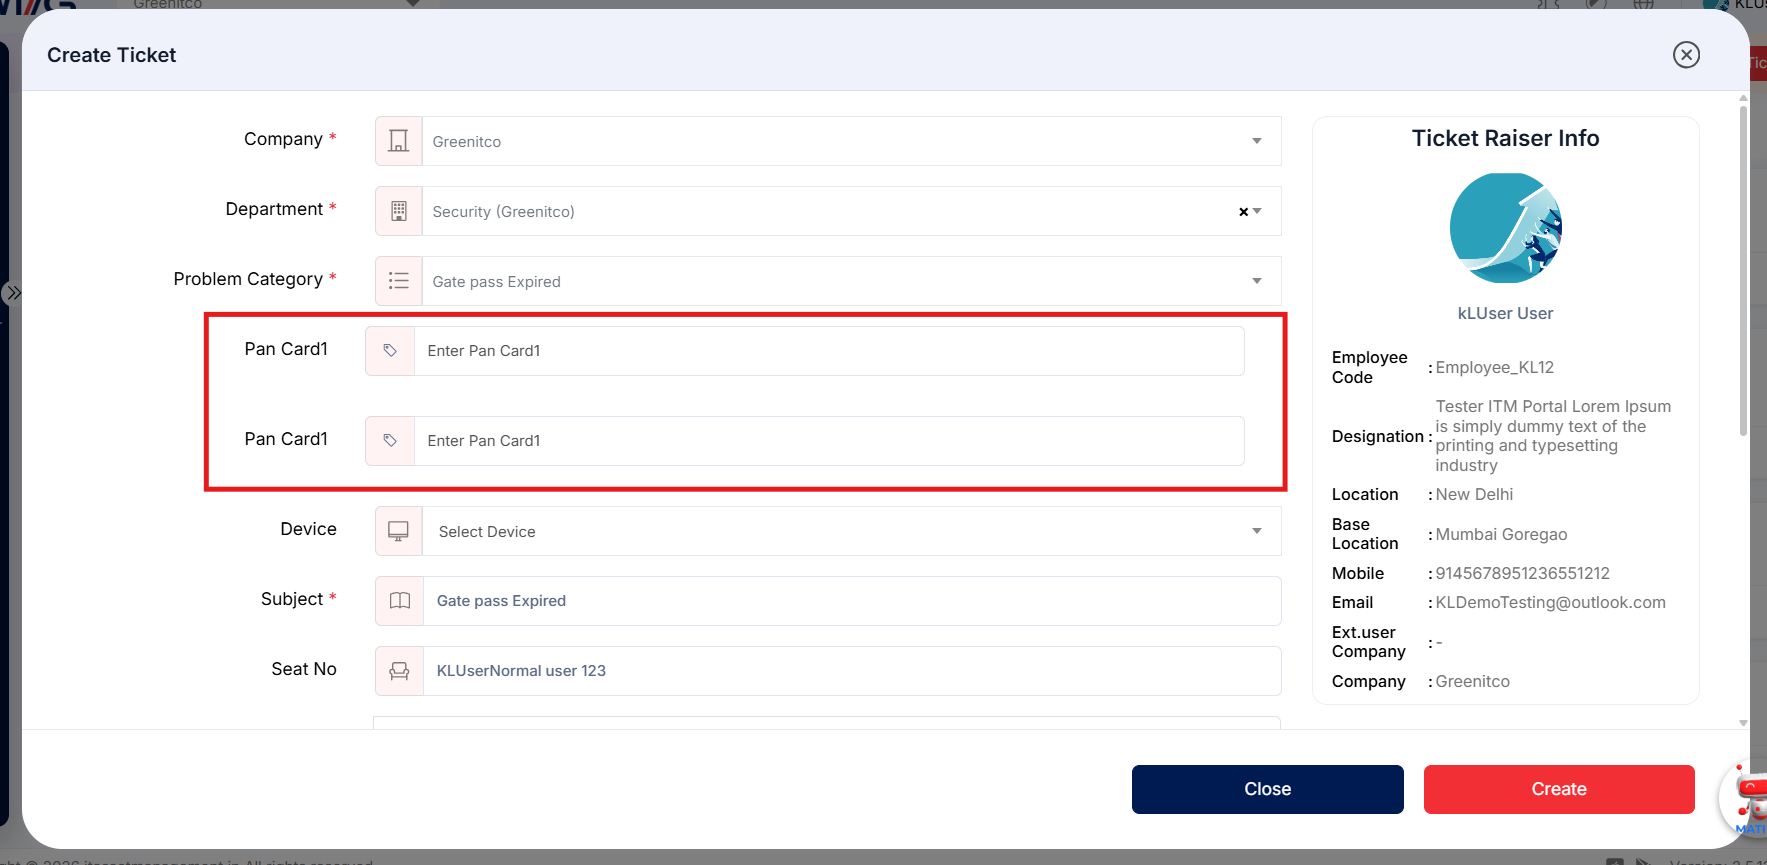
Step 3: If additional custom fields are configured for the selected department, they are loaded on the form automatically. Fill them in as required.
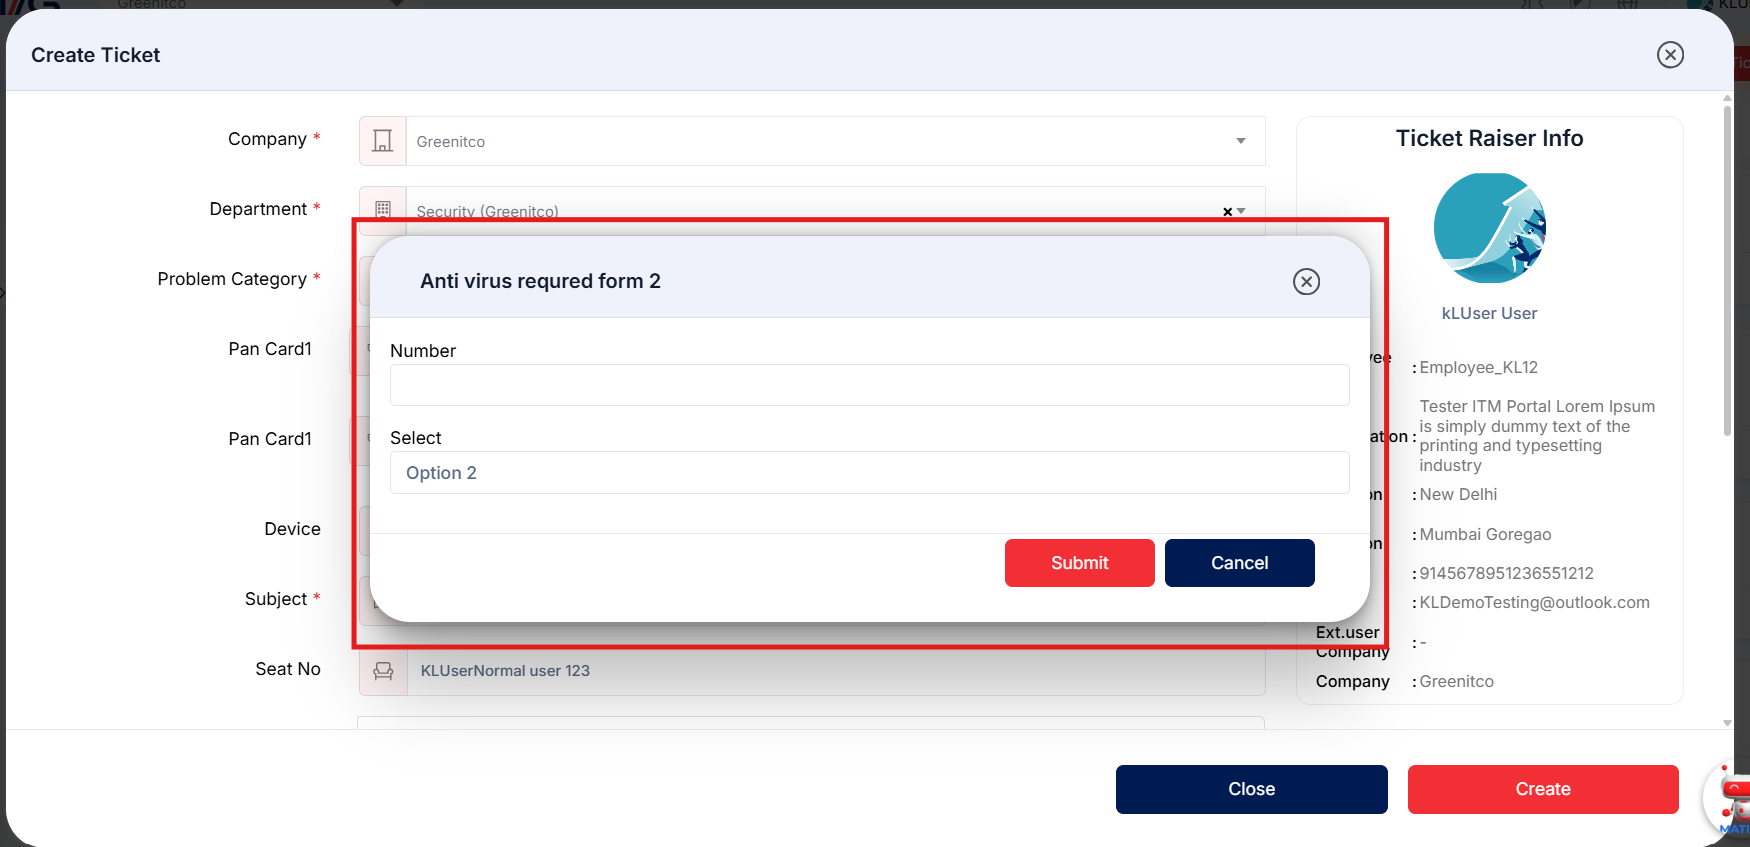
 Step 4: If you select a category that requires approval and has a dynamic form configured to collect additional information, a pop-up form opens. Complete and save the form.
 Step 5: Enter the subject and ticket content. Add a device, reply-to account, seat number, tags, attachments or CC email addresses when needed.
Step 6: Review the information and click Create. Close the form without saving if you do not want to submit the ticket.

Figure: Create Ticket form
Table: Create Ticket fields
| Field | Mandatory | Description |
|---|---|---|
| Company | Yes | Company under which the ticket is raised. |
| Department | Yes | Department responsible for handling the ticket. |
| Problem Category | Yes | Category used to classify and route the ticket. |
| Priority and TAT | Yes | Ticket priority and target turnaround time (TAT), in hours. These are loaded from the selected problem category. |
| Device | No | Device associated with the issue, when applicable. The ticket is created against this device and can be seen on the Ticket tab of the device's detail page. |
| Subject | Yes | Short title that describes the issue or request. |
| Seat No | No | Seat or workstation reference, when applicable. |
| Content | Yes | Description of the issue or request. |
| Attachment | No | Supporting files. Follow the file types and size limits shown below the upload area. |
| CC E-Mails / E-Mails | No | Enable CC and add the email addresses that should receive copies, if required. These recipients are notified about the ticket. |
Tip: Enter a clear subject and enough detail in Content for the support team to understand the issue. Attach screenshots or files when they help explain the problem. If you are creating a ticket for a different company and have access to the additional Location and Internal Place fields, use them to specify the relevant location. By default, the system uses the location fetched automatically.