outgoing Mail Setting
This module is used to set the outgoing mail id,password for receive the customer issue mail.
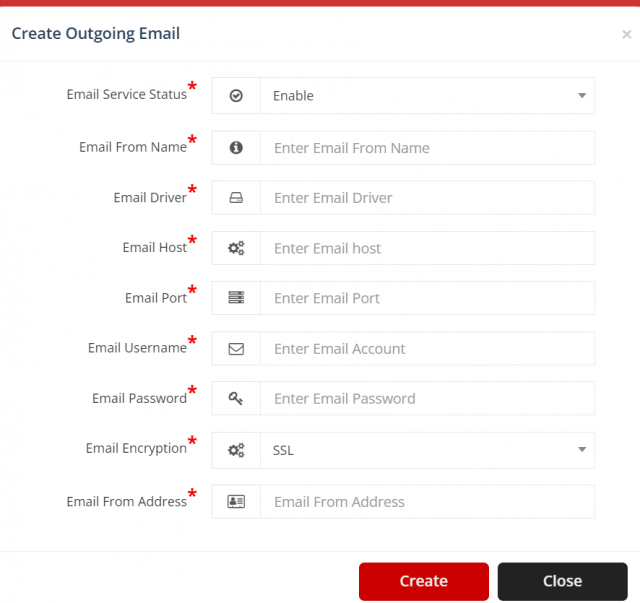
To create a new outgoing mail setting
Go to the left sidebar and select service Tickets > click on Outgoing mail setting > click on icon.

After opening popup modal , fill in the all the details as follows :
- Select email service status enable or disable.
- Enter Email From Name.
- Enter Email Driver.
- Enter Email Host.
- Enter Email Port.
- Enter Email Username.
- Enter Email Password.
- Select Email Encryption such as SSL,TSL,False.
- Enter Email From Address.
- Click on Save Button.
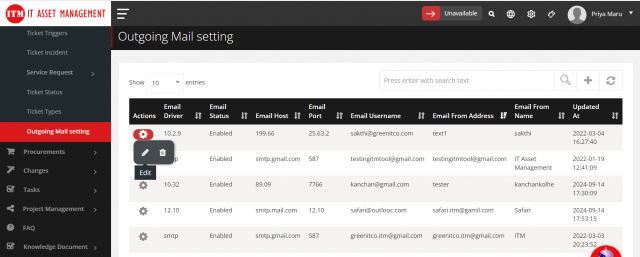
To edit a outgoing mail setting
Go to the service Tickets > click on outgoing mail setting > click on icon.
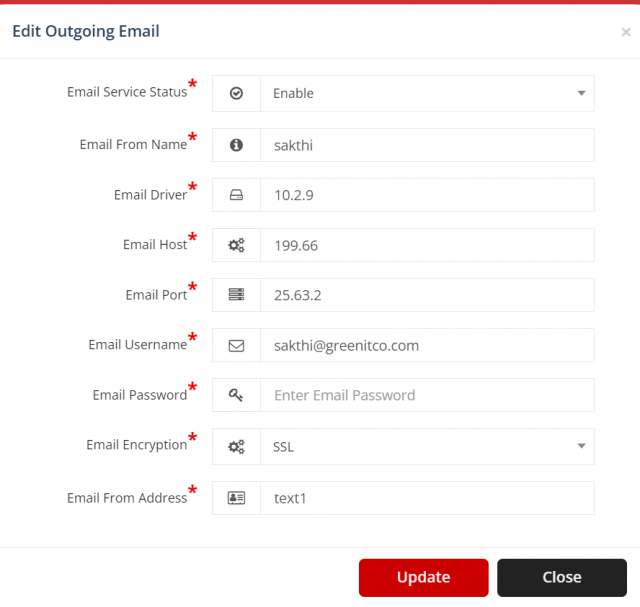
- After open popup modal and change any details per your requirements.
- After Click on update Button.
To delete a outgoing mail setting
Go to the service Tickets > click on outgoing mail setting > click on icon.
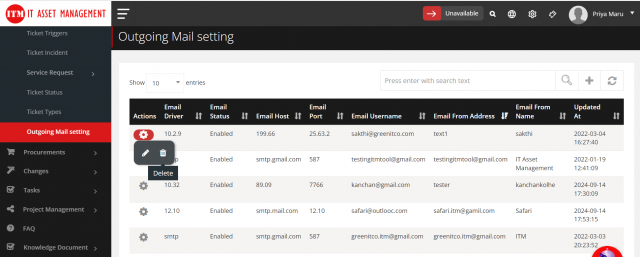
- After display SweetAlert confirmation then click yes so delete outgoing mail setting otherwise click on cancel.
To configure a outgoing mail settings.
Go to the service Tickets > click on Ticket configuration.
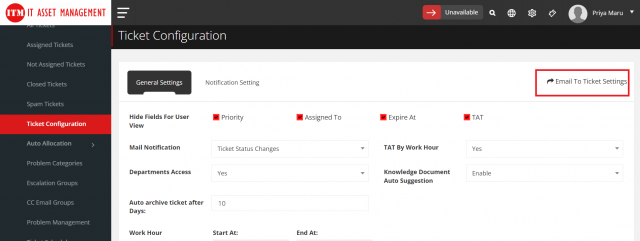
- after click on email to ticket settings.
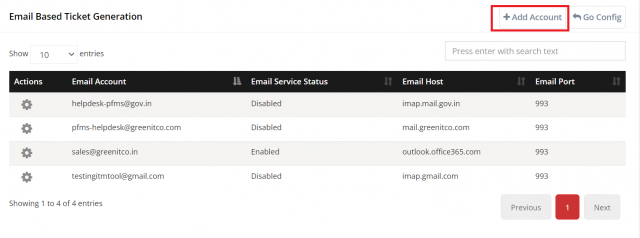
- after click on add account and open model fill all details and select the outgoing mail server.
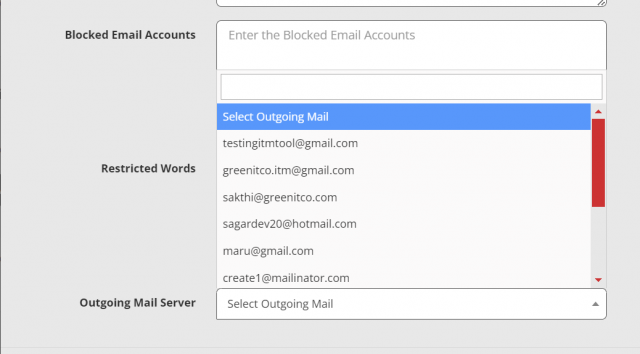
- after click on save and complete the configuration of outgoing mail setting.
We are continuously improving our documentation to ensure it meets your needs. This document will be updated regularly, so please check back for the latest information. If you have any questions or encounter any issues, feel free to reach out to us at support@itassetmanagement.in.