Manage Service Request
To add a new service request from the list.
To add a new Service Request
Dashboard > Click on the plus icon > Click on Create.
or
Go to the left sidebar and select Service Request > Click on the plus icon > Click on Create.
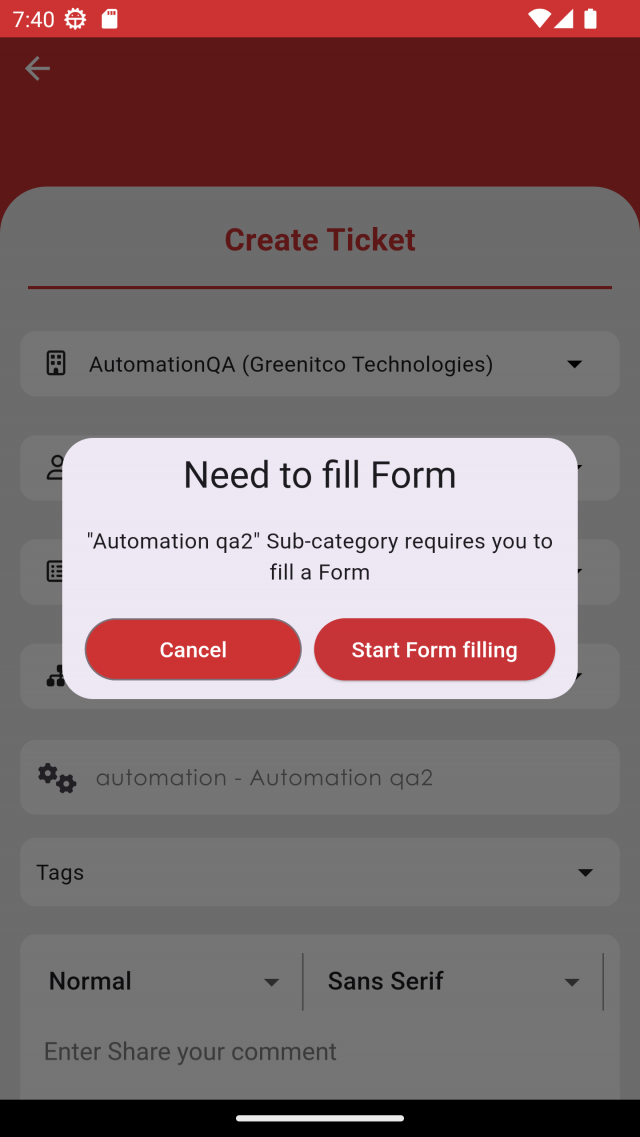
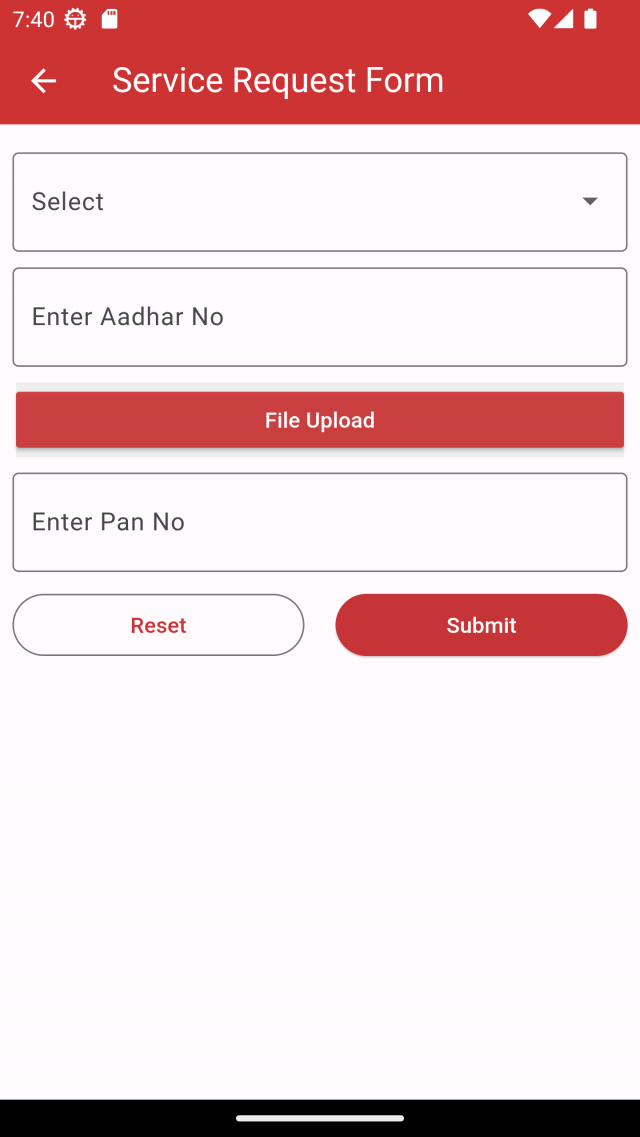
Based on problem category or sub problem category request/dynamic form will show. and after fill all field by click on on below submit button, form will submit. After submit form in create ticket screen on app bar top right side edit icon will show. If user want to update the form by tap on that edit icon user can edit or update the form.
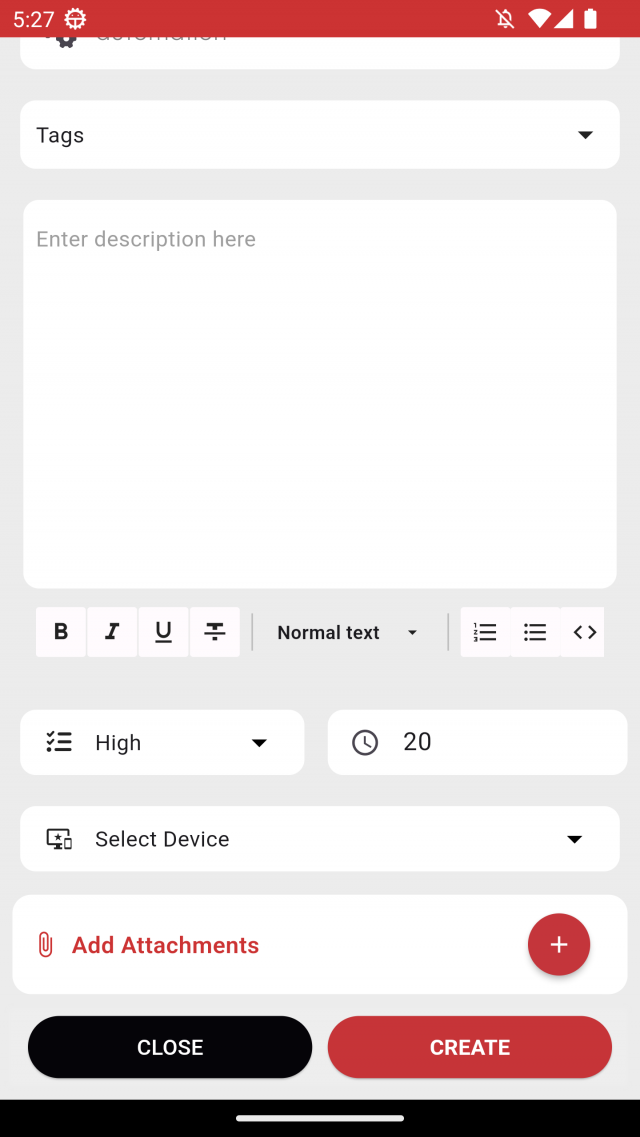
When adding a new ticket, the notification will be send to your mobile.
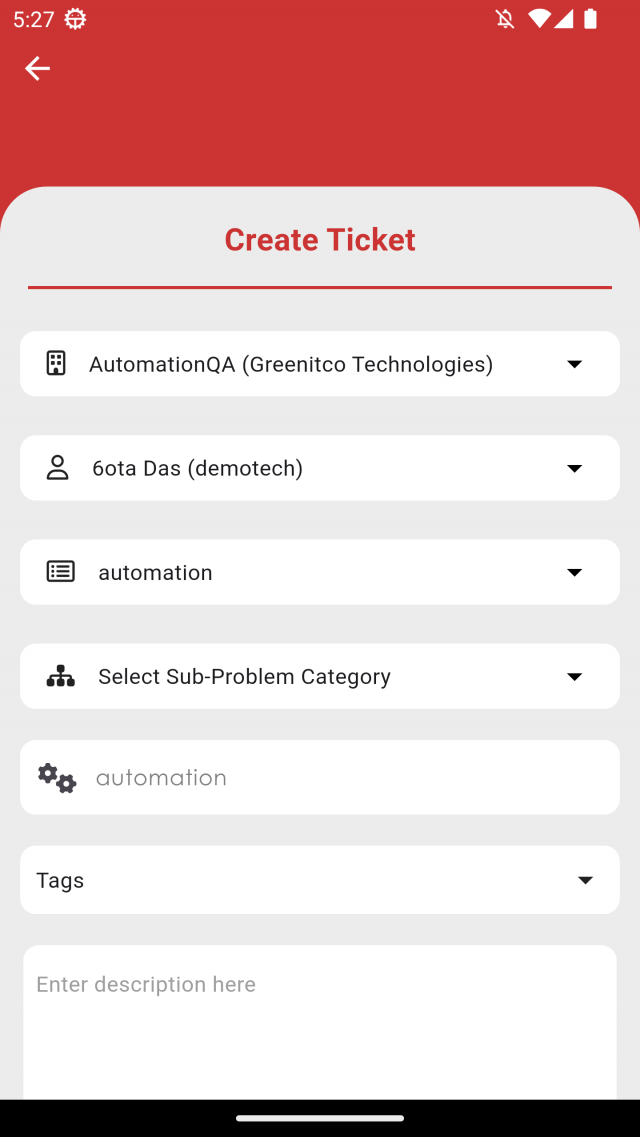
- Department: Select department.
- Problem Category: Based on selected department, problem category will show
- Sub Problem Category: Based on selected Problem Category, Sub Problem Category will show
- Creator: Select creator whoever you want to make creator or it will select your name as a creator
- Enter Subject: Enter your subject or it will fill with your selected category
- Enter Description: Enter your Description
- Select Priority and TAT hour: Priority and TAT hour will fill automatically if these are available on your selected category or it will take default value
- Attachment: Add or remove attachment from storage or camera
- Device: Assigned device will show on device dropdown
To Approve a service request from the list.
To Approve a Service Ticket
Go to the left sidebar and select Service Request > Click on the particular Ticket
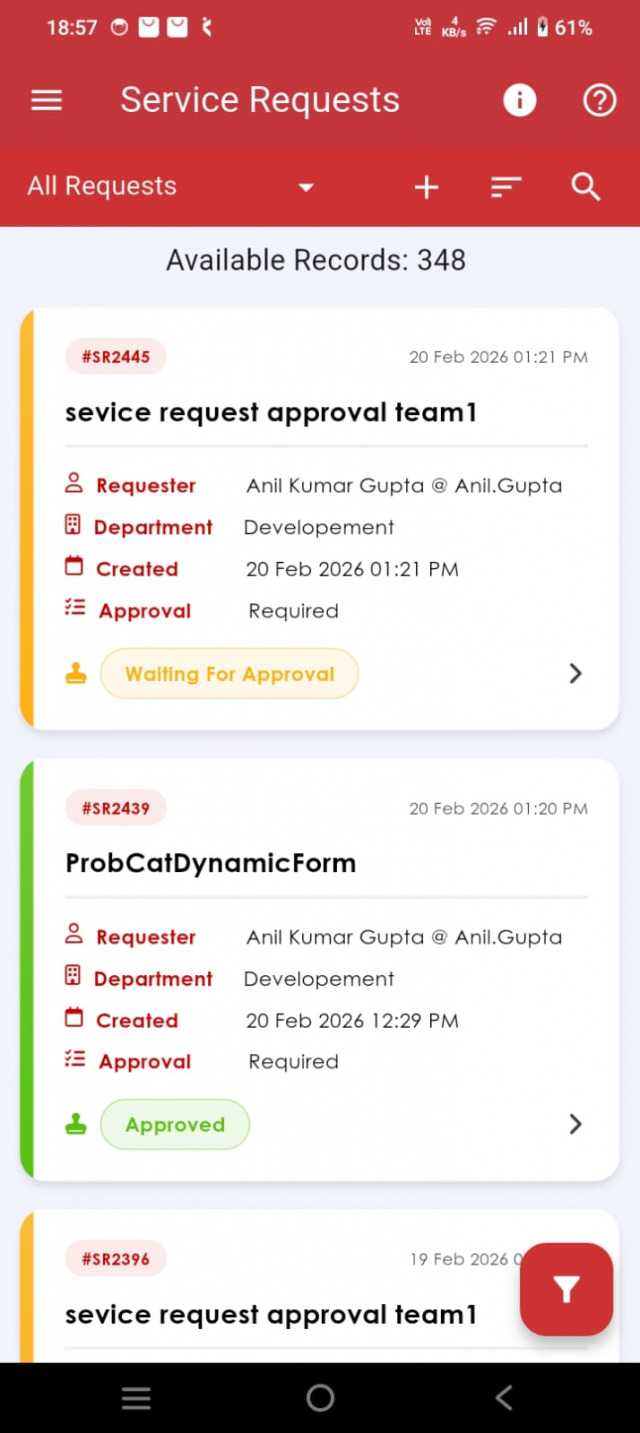
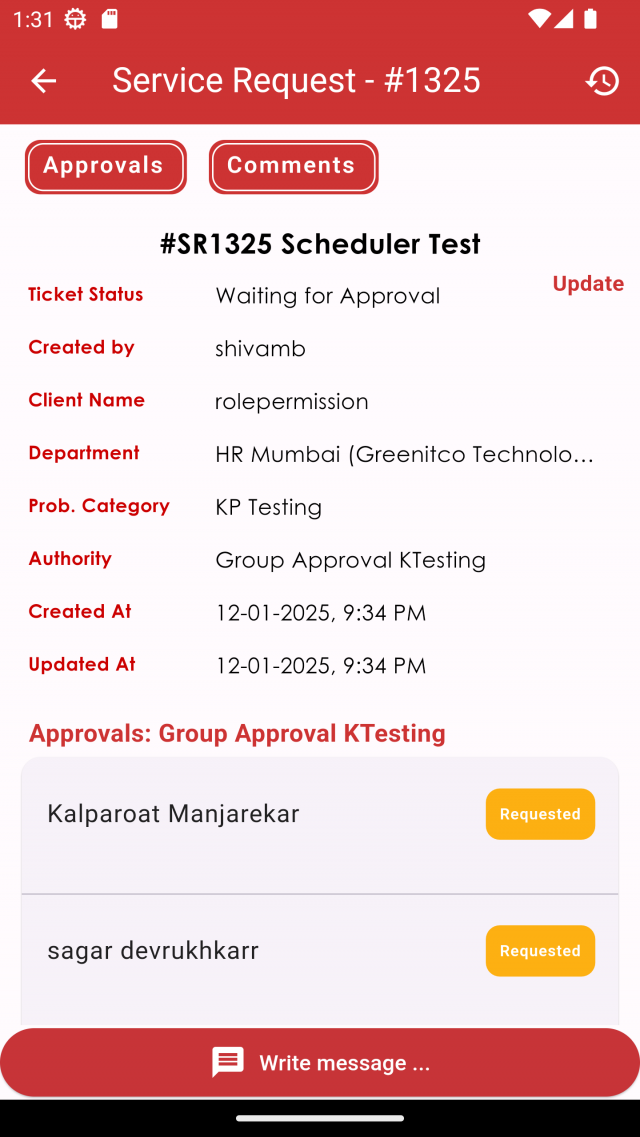
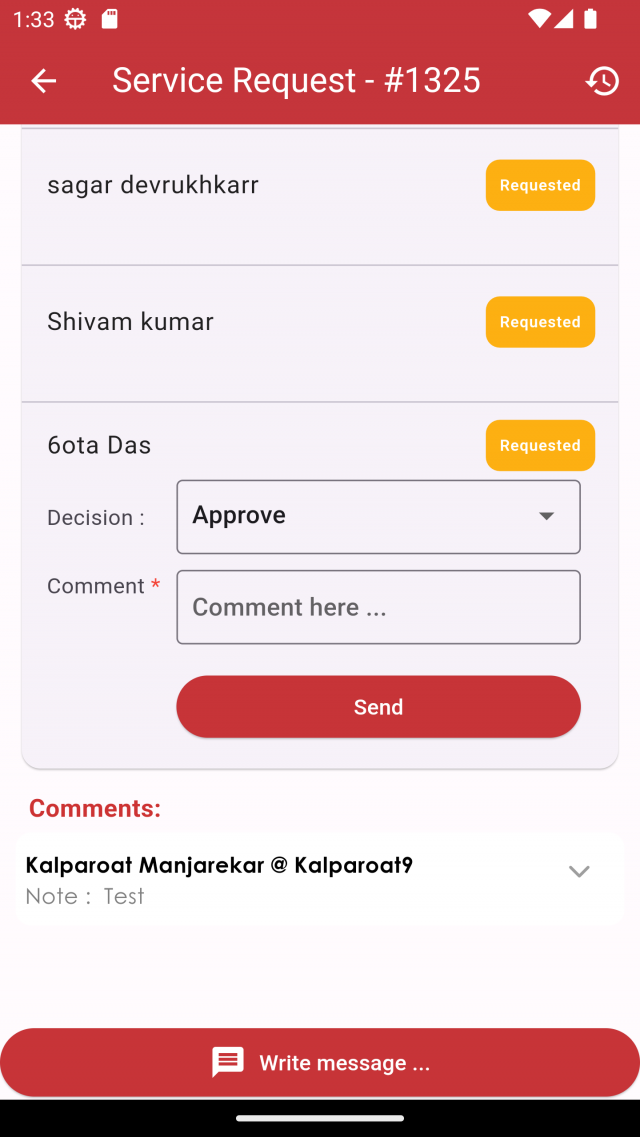
Below this details there is Approve/Reject dropdown and comments field. Select approve and add comment for reason then click on send button.
To Approve a service request from the list.
To Add Comments to a Service Ticket
Go to the left sidebar and select Service Request > Click on the particular Ticket > Click on the write message button > Write message > Send icon.
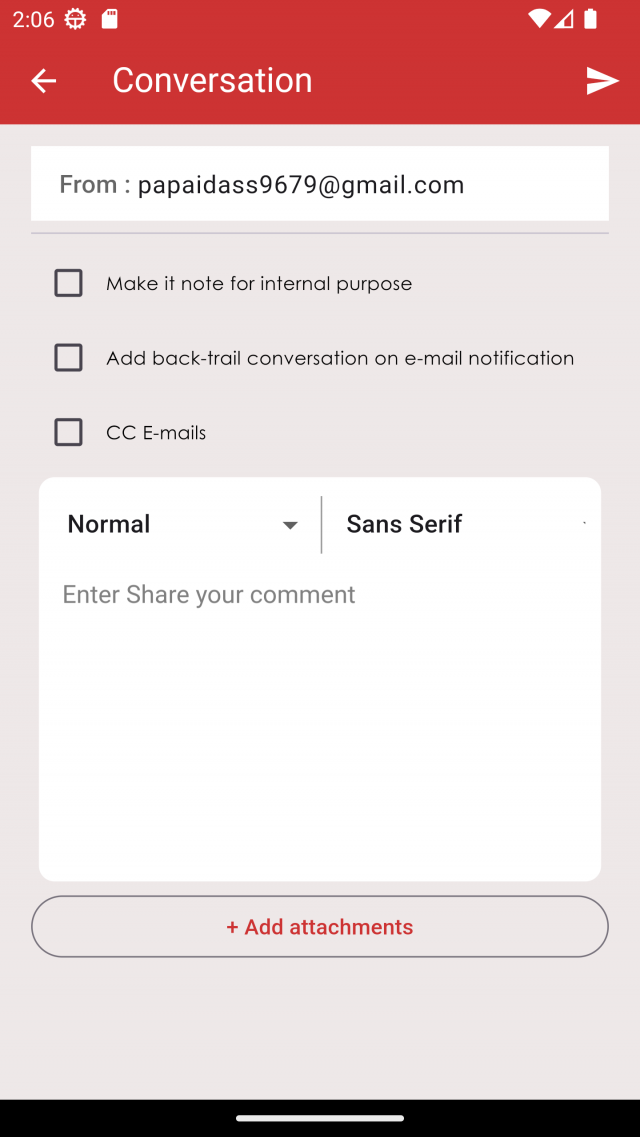
- Write Message: Write your message
- Attachment: Add attachment by storage or camera
- CC-Emails: Add cc-emails to send email to user
- Internal Purpose: Select check box to make comment for internal purpose
To See History of a Service Ticket
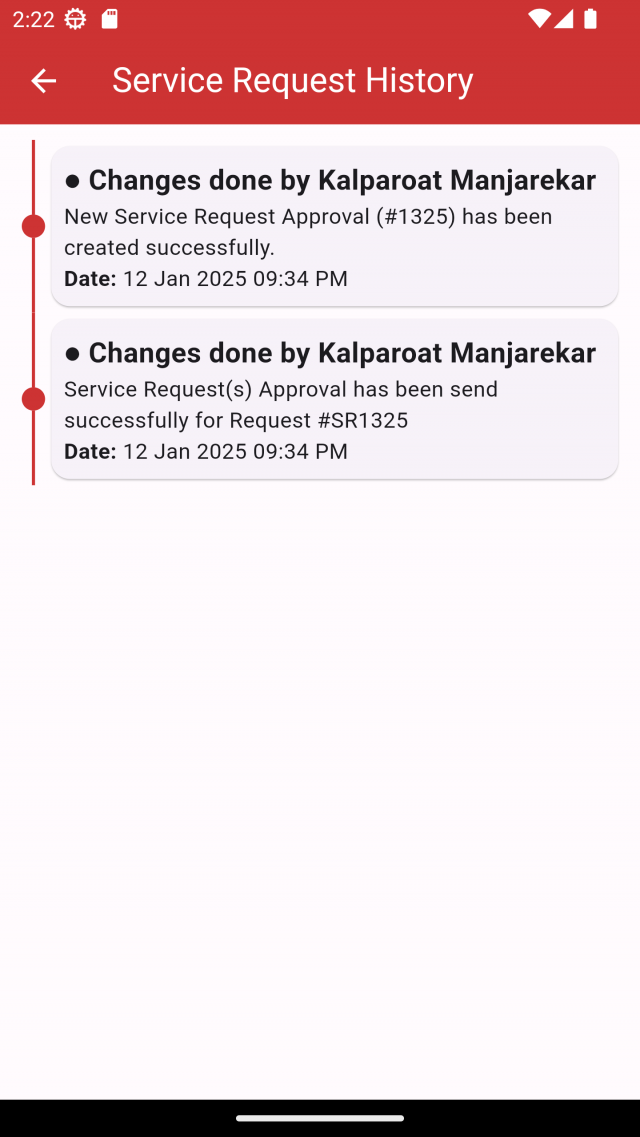
Go to the left sidebar and select Service Request > Click on the particular Ticket > Click on the History icon