

Adding a Role
Step 1: On the Roles & Permissions list, click Add Role (top-right).
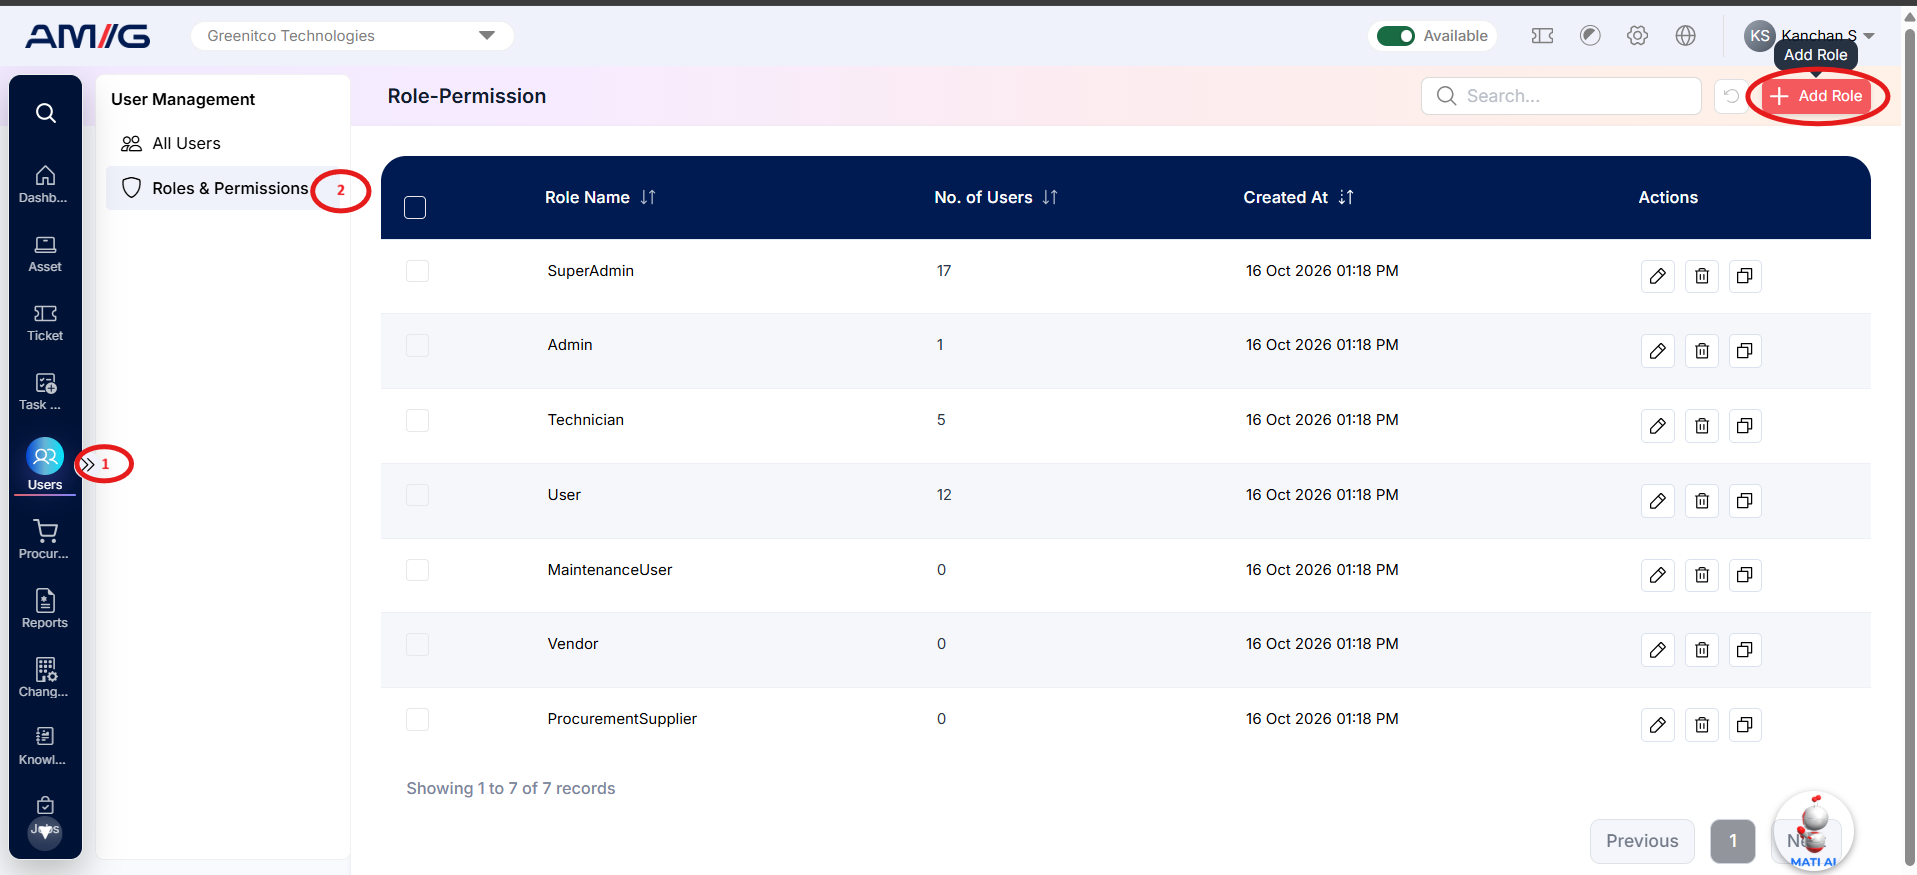 Step 2: Fill in the role details shown on screen and save.
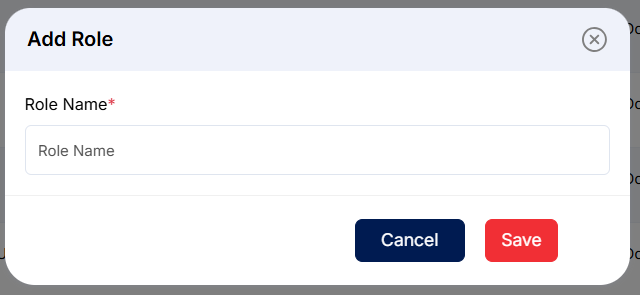 Step 3: Open the new role with the Edit icon and set its permissions (see section 1.2.4).
Editing a Role
Step 1: Click the Edit icon next to the role.
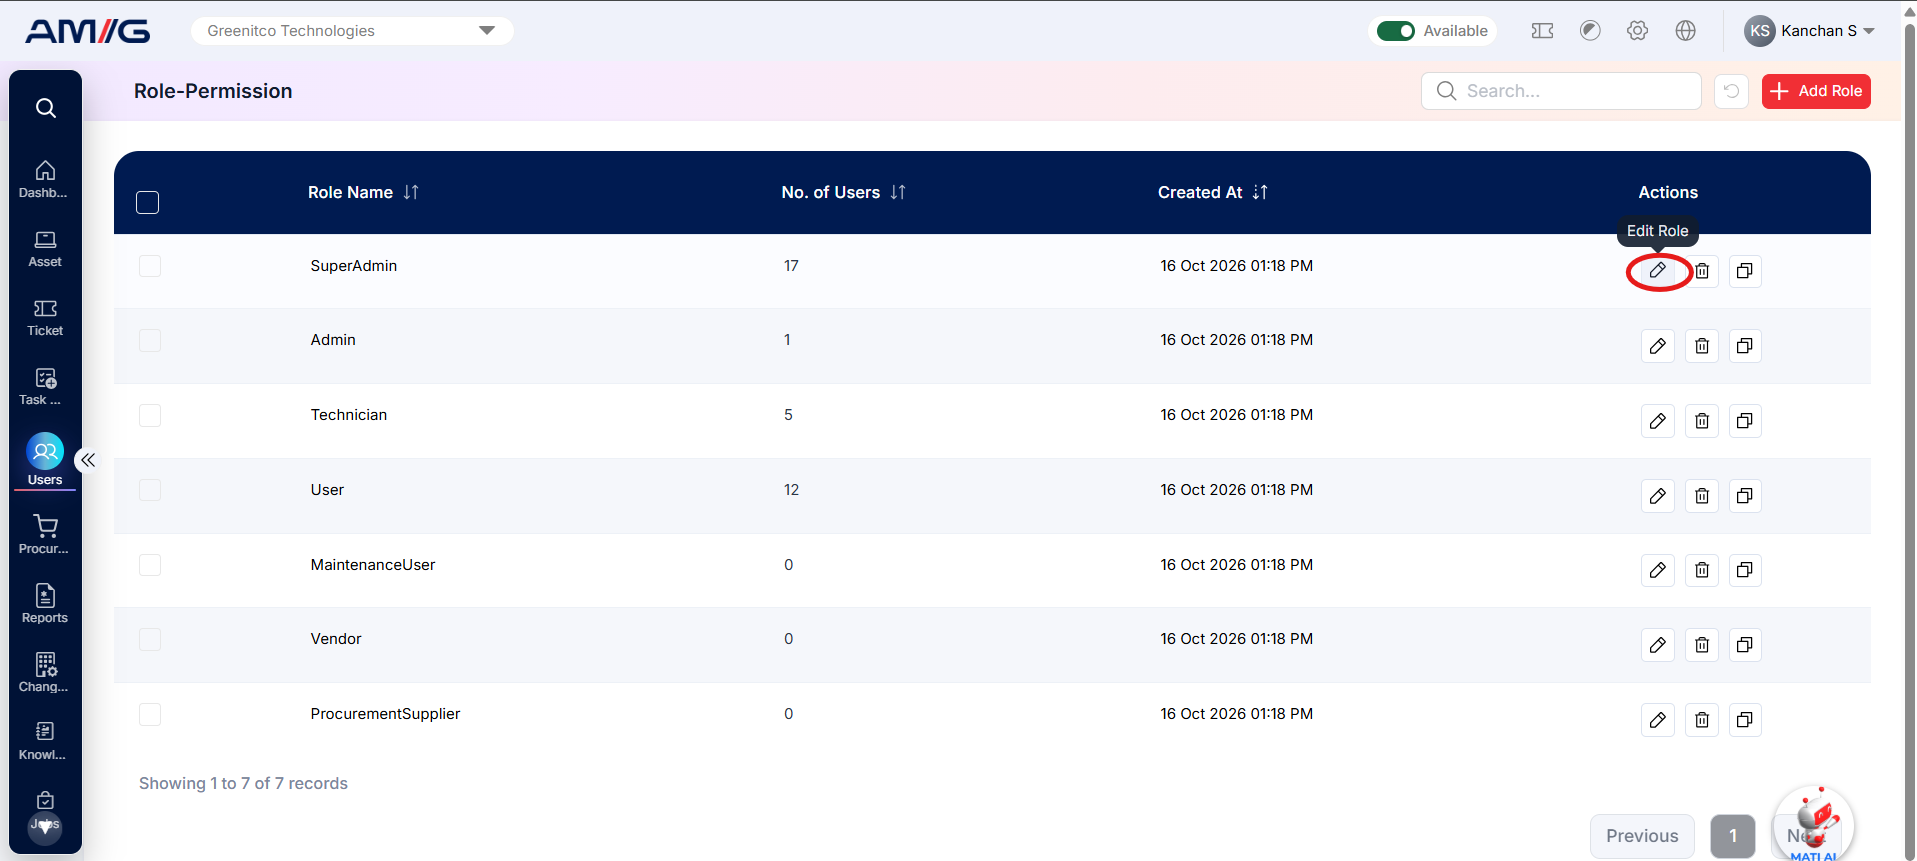 Step 2: Change the permissions for each module you need.
Step 3: Click Save Changes for each module.
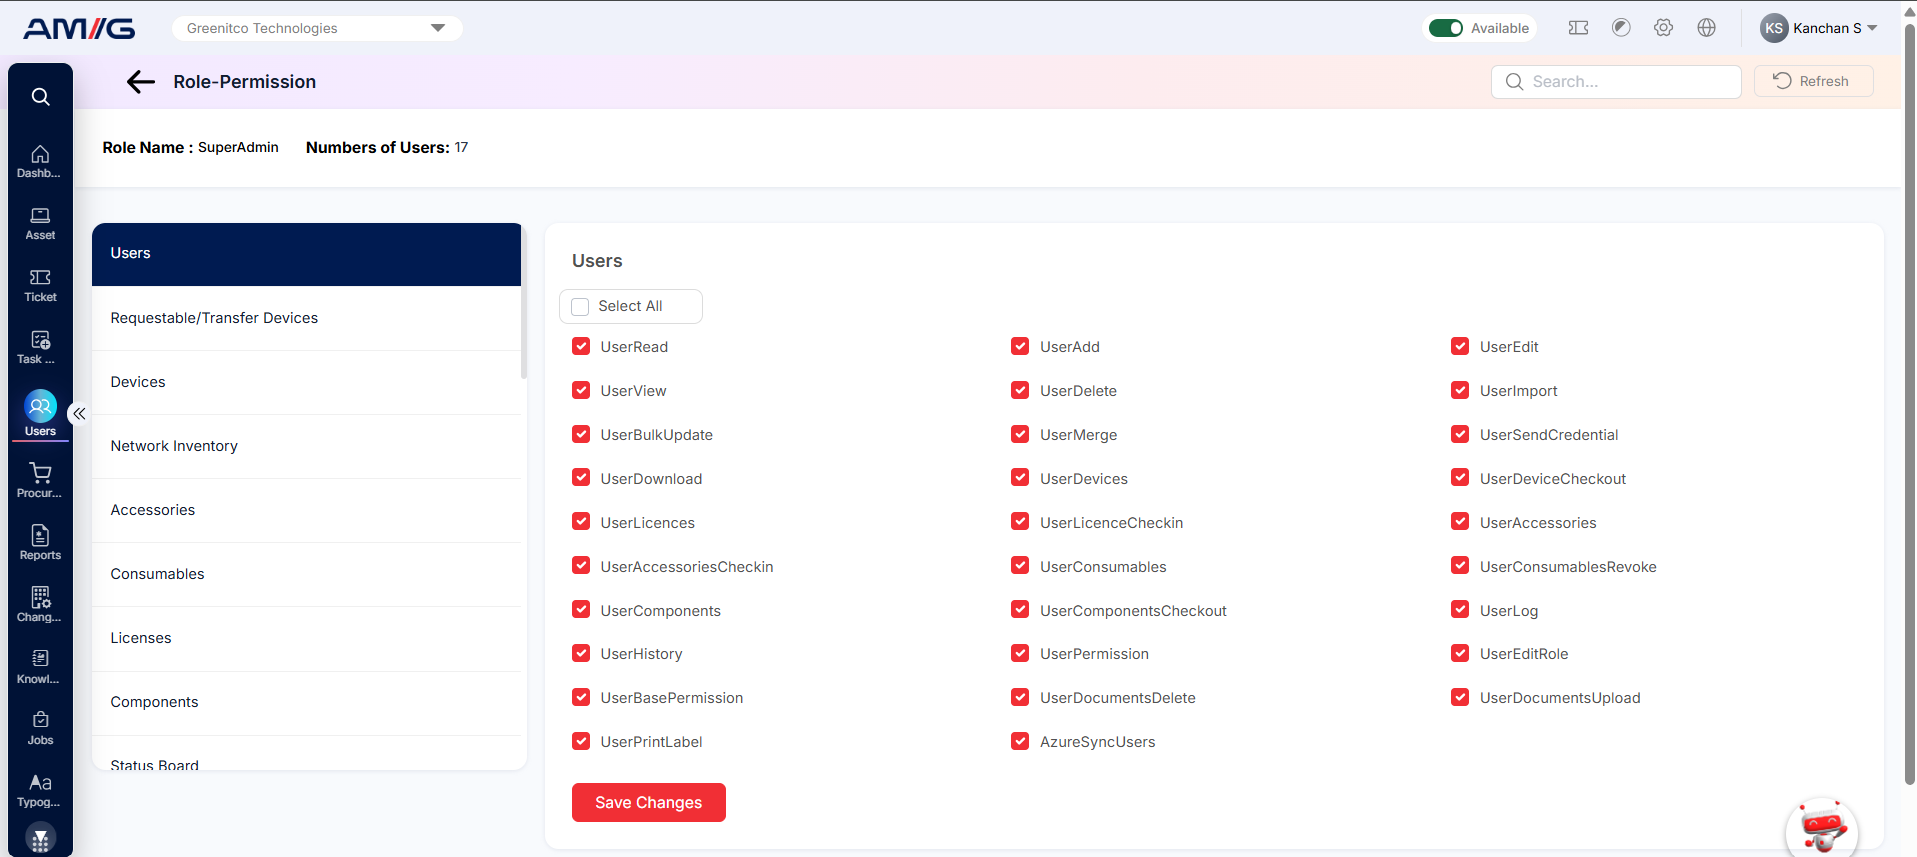
Note: Changes apply straight away to every user who has this role.
Cloning a Role
Cloning is the quickest way to create a role that is similar to one you already have.
Step 1: Click the Clone icon next to the role you want to copy.
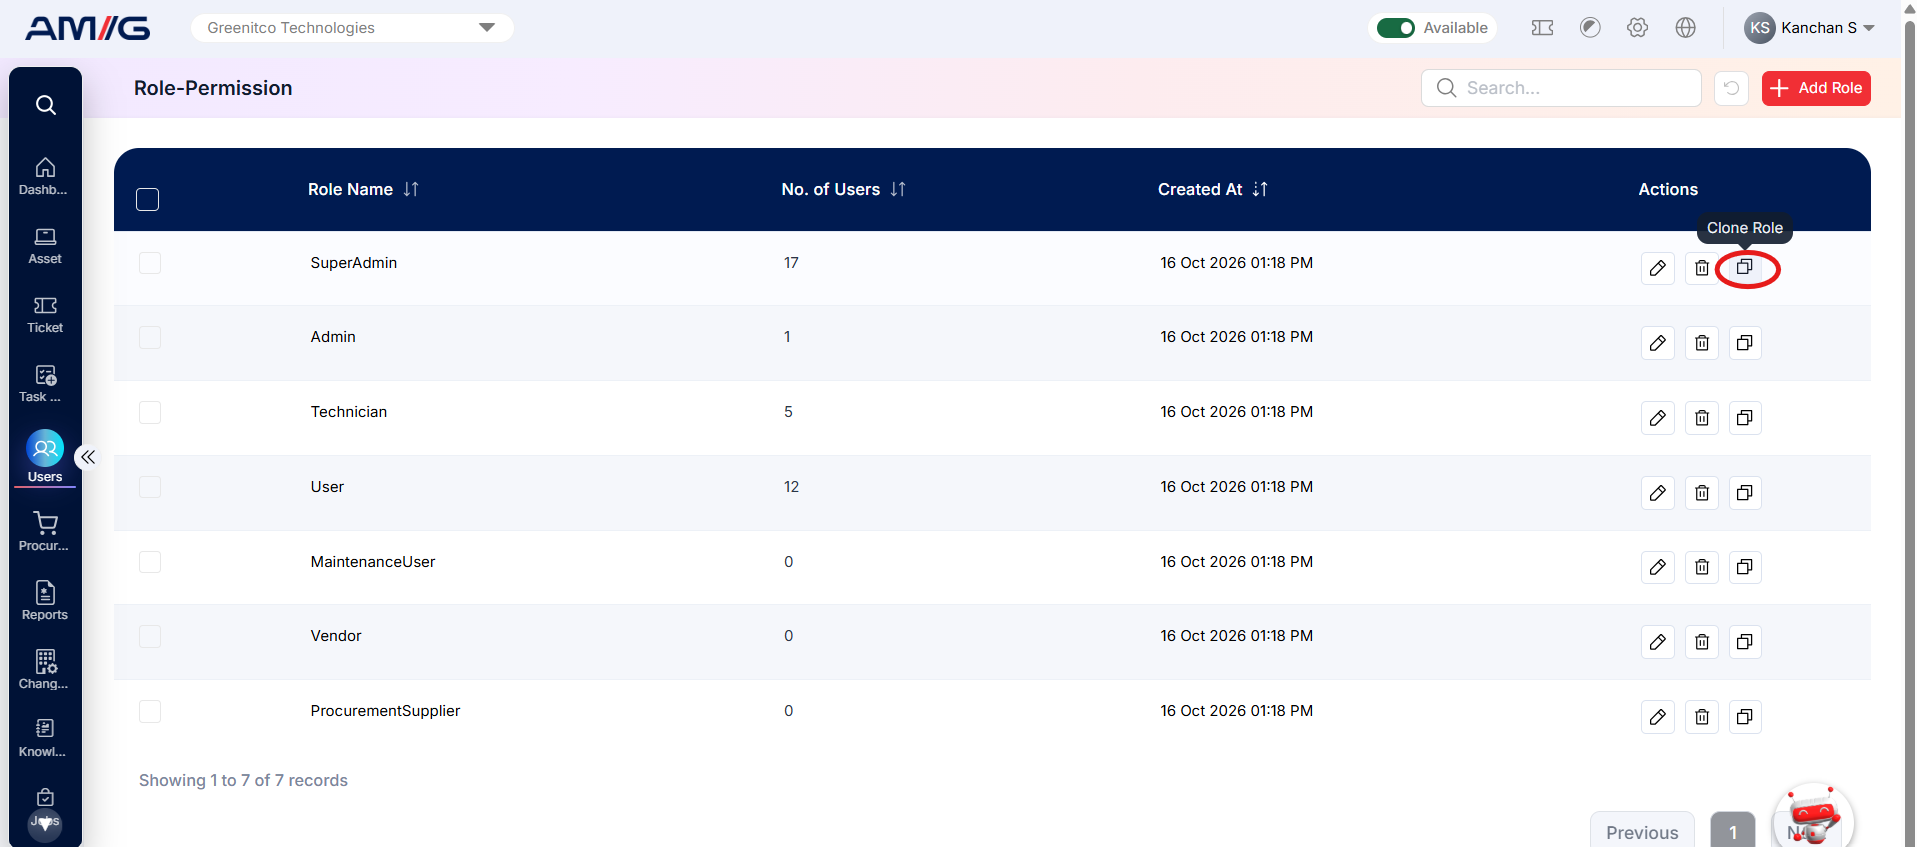 Step 2: Give the new role a name and review its permissions.
Step 3: Save the new role, then adjust any permissions that should be different.
Deleting a Role
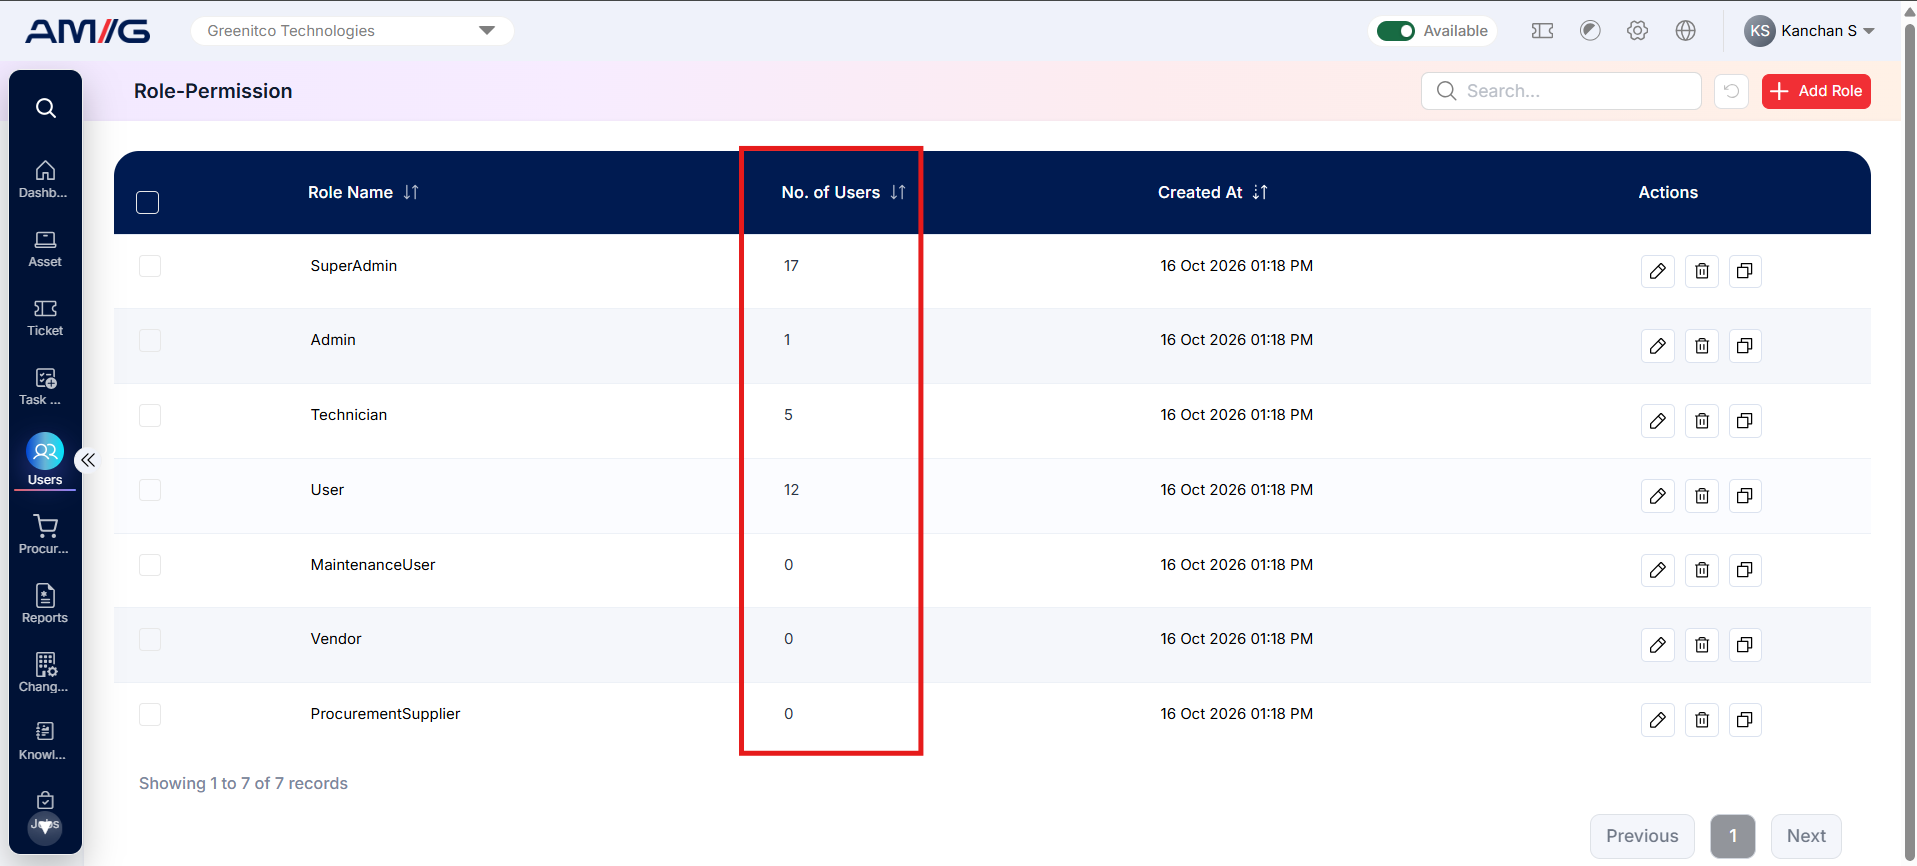
Step 1: Check the No. of Users column. Move these users to another role first.
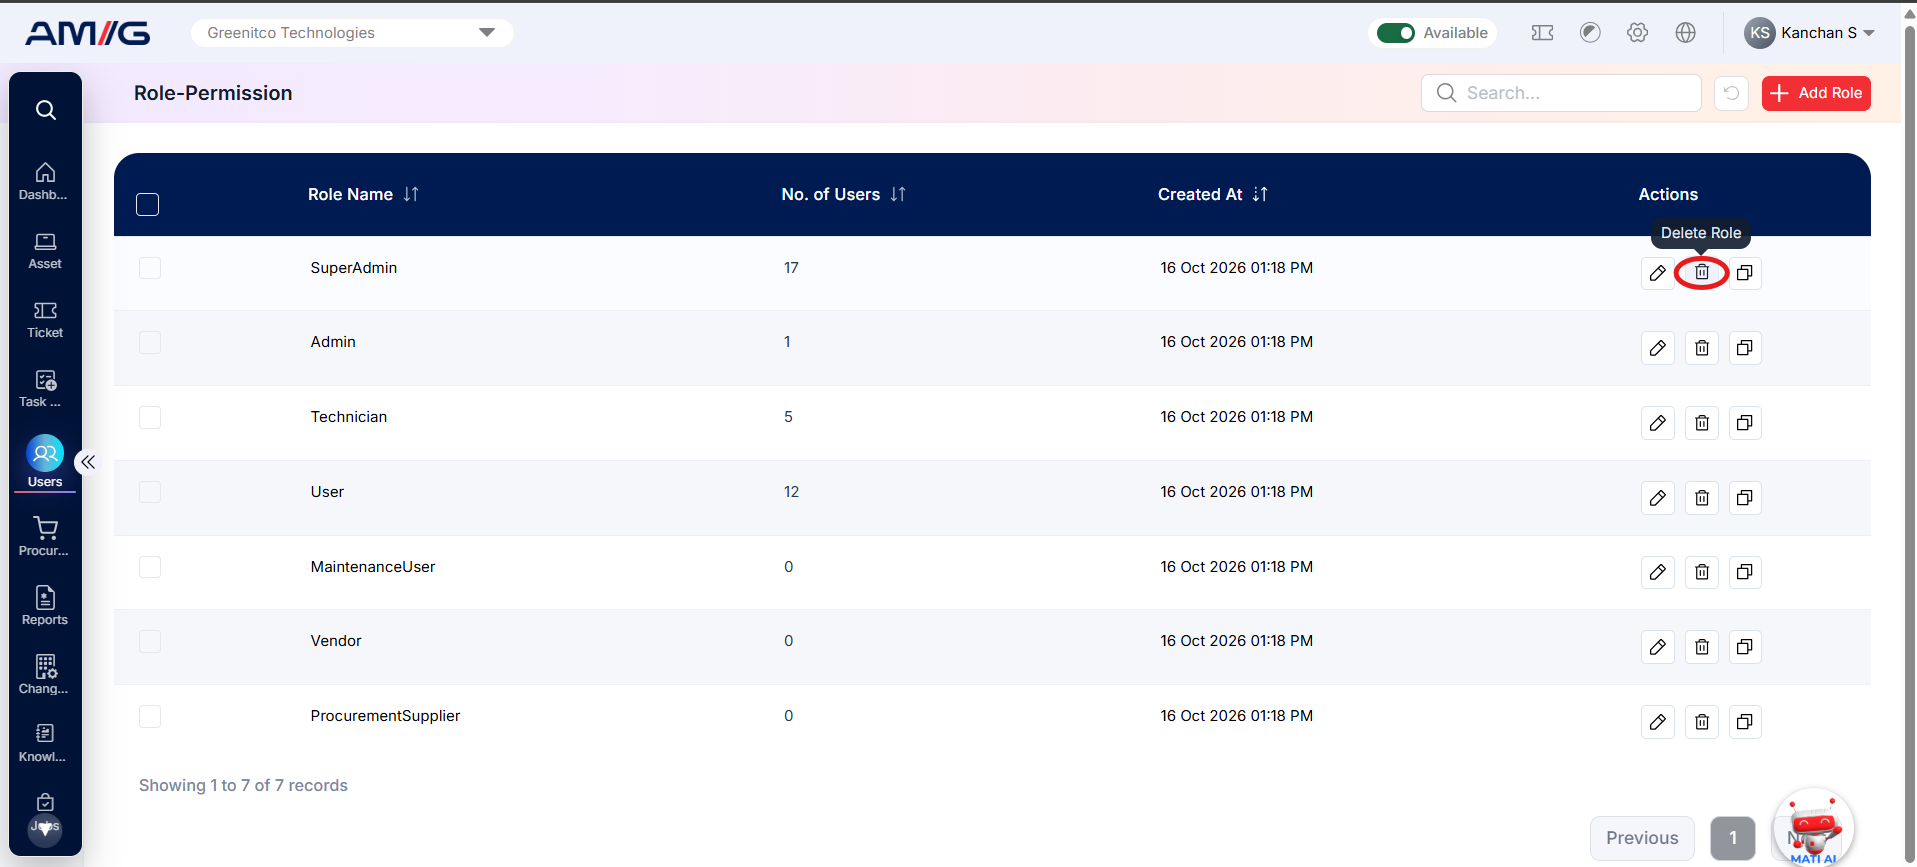
 Step 2: Click the Delete icon next to the role.
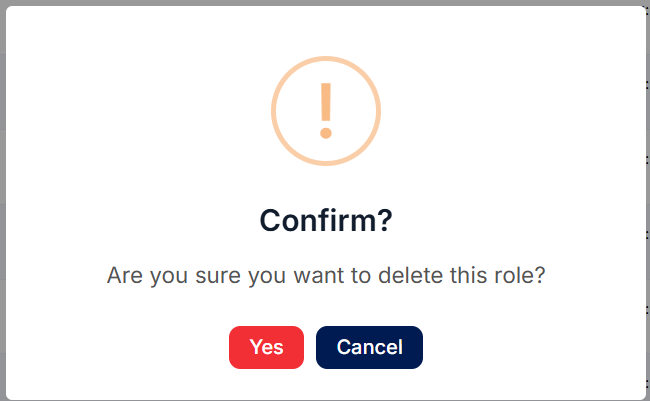
 Step 3: Confirm when asked.
Important: Before changing or deleting a role, look at how many users have it. Changing the role changes access for all of them.