

Adding a user takes just a few minutes. Only a handful of fields are required – everything else can be filled in now or later.
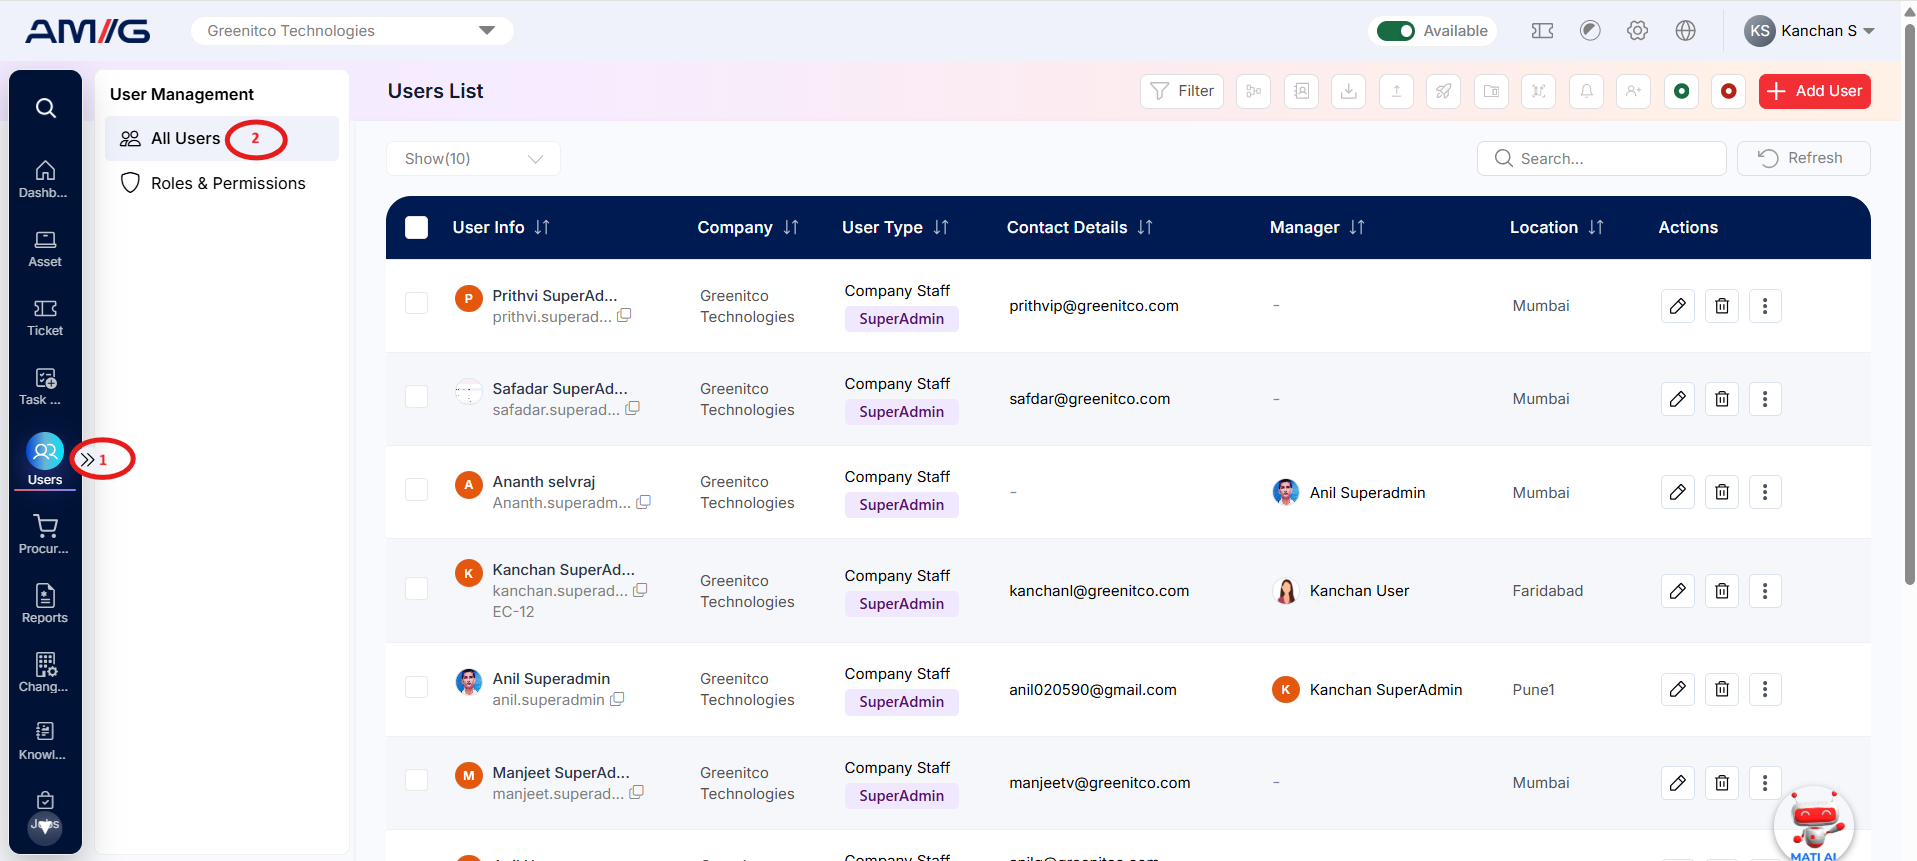
Step 1: Go to Sidebar > Users > All Users.
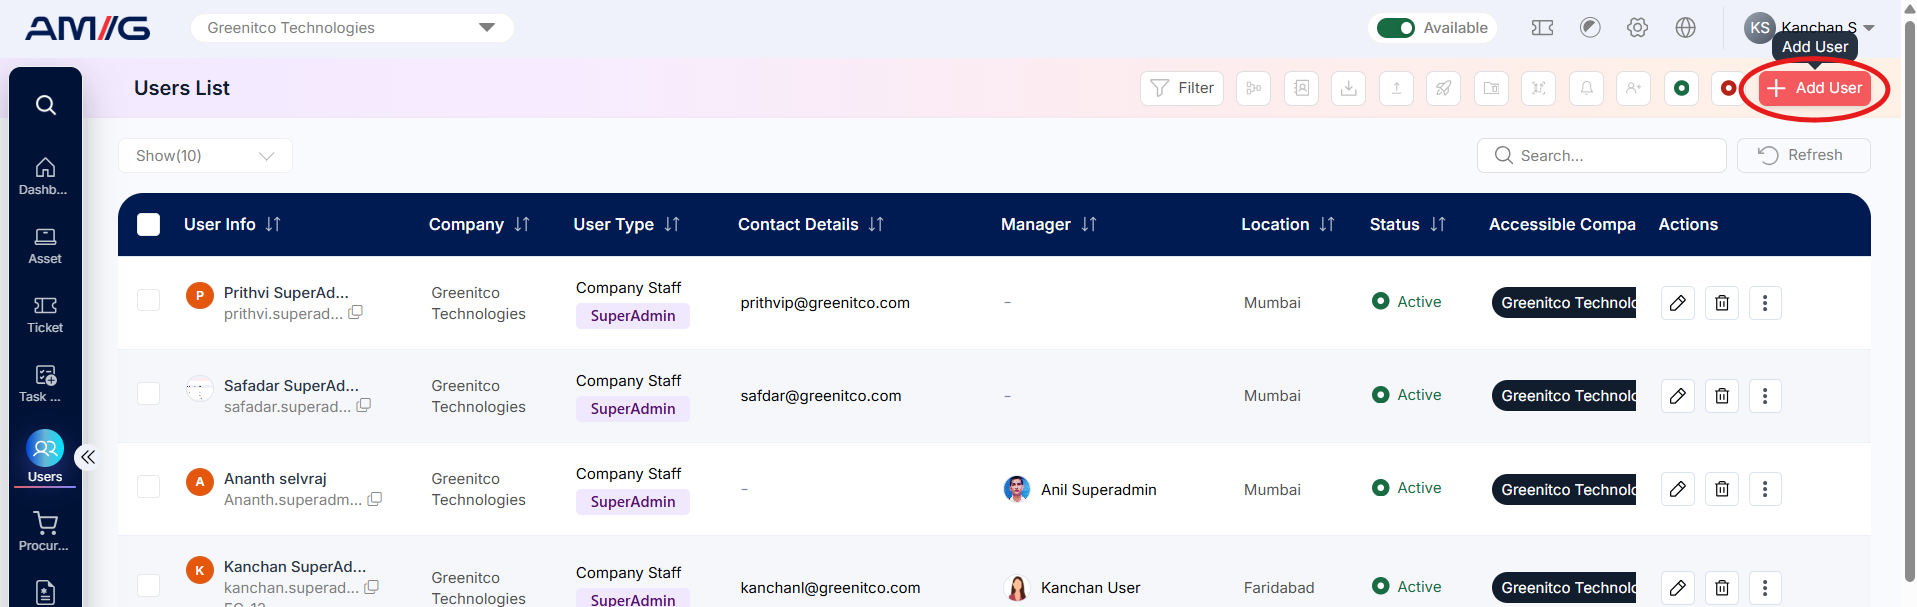
 Step 2: Click Add User in the top-right corner.
 Step 3: The Add User window opens. It has two tabs: User Details and User Permissions.
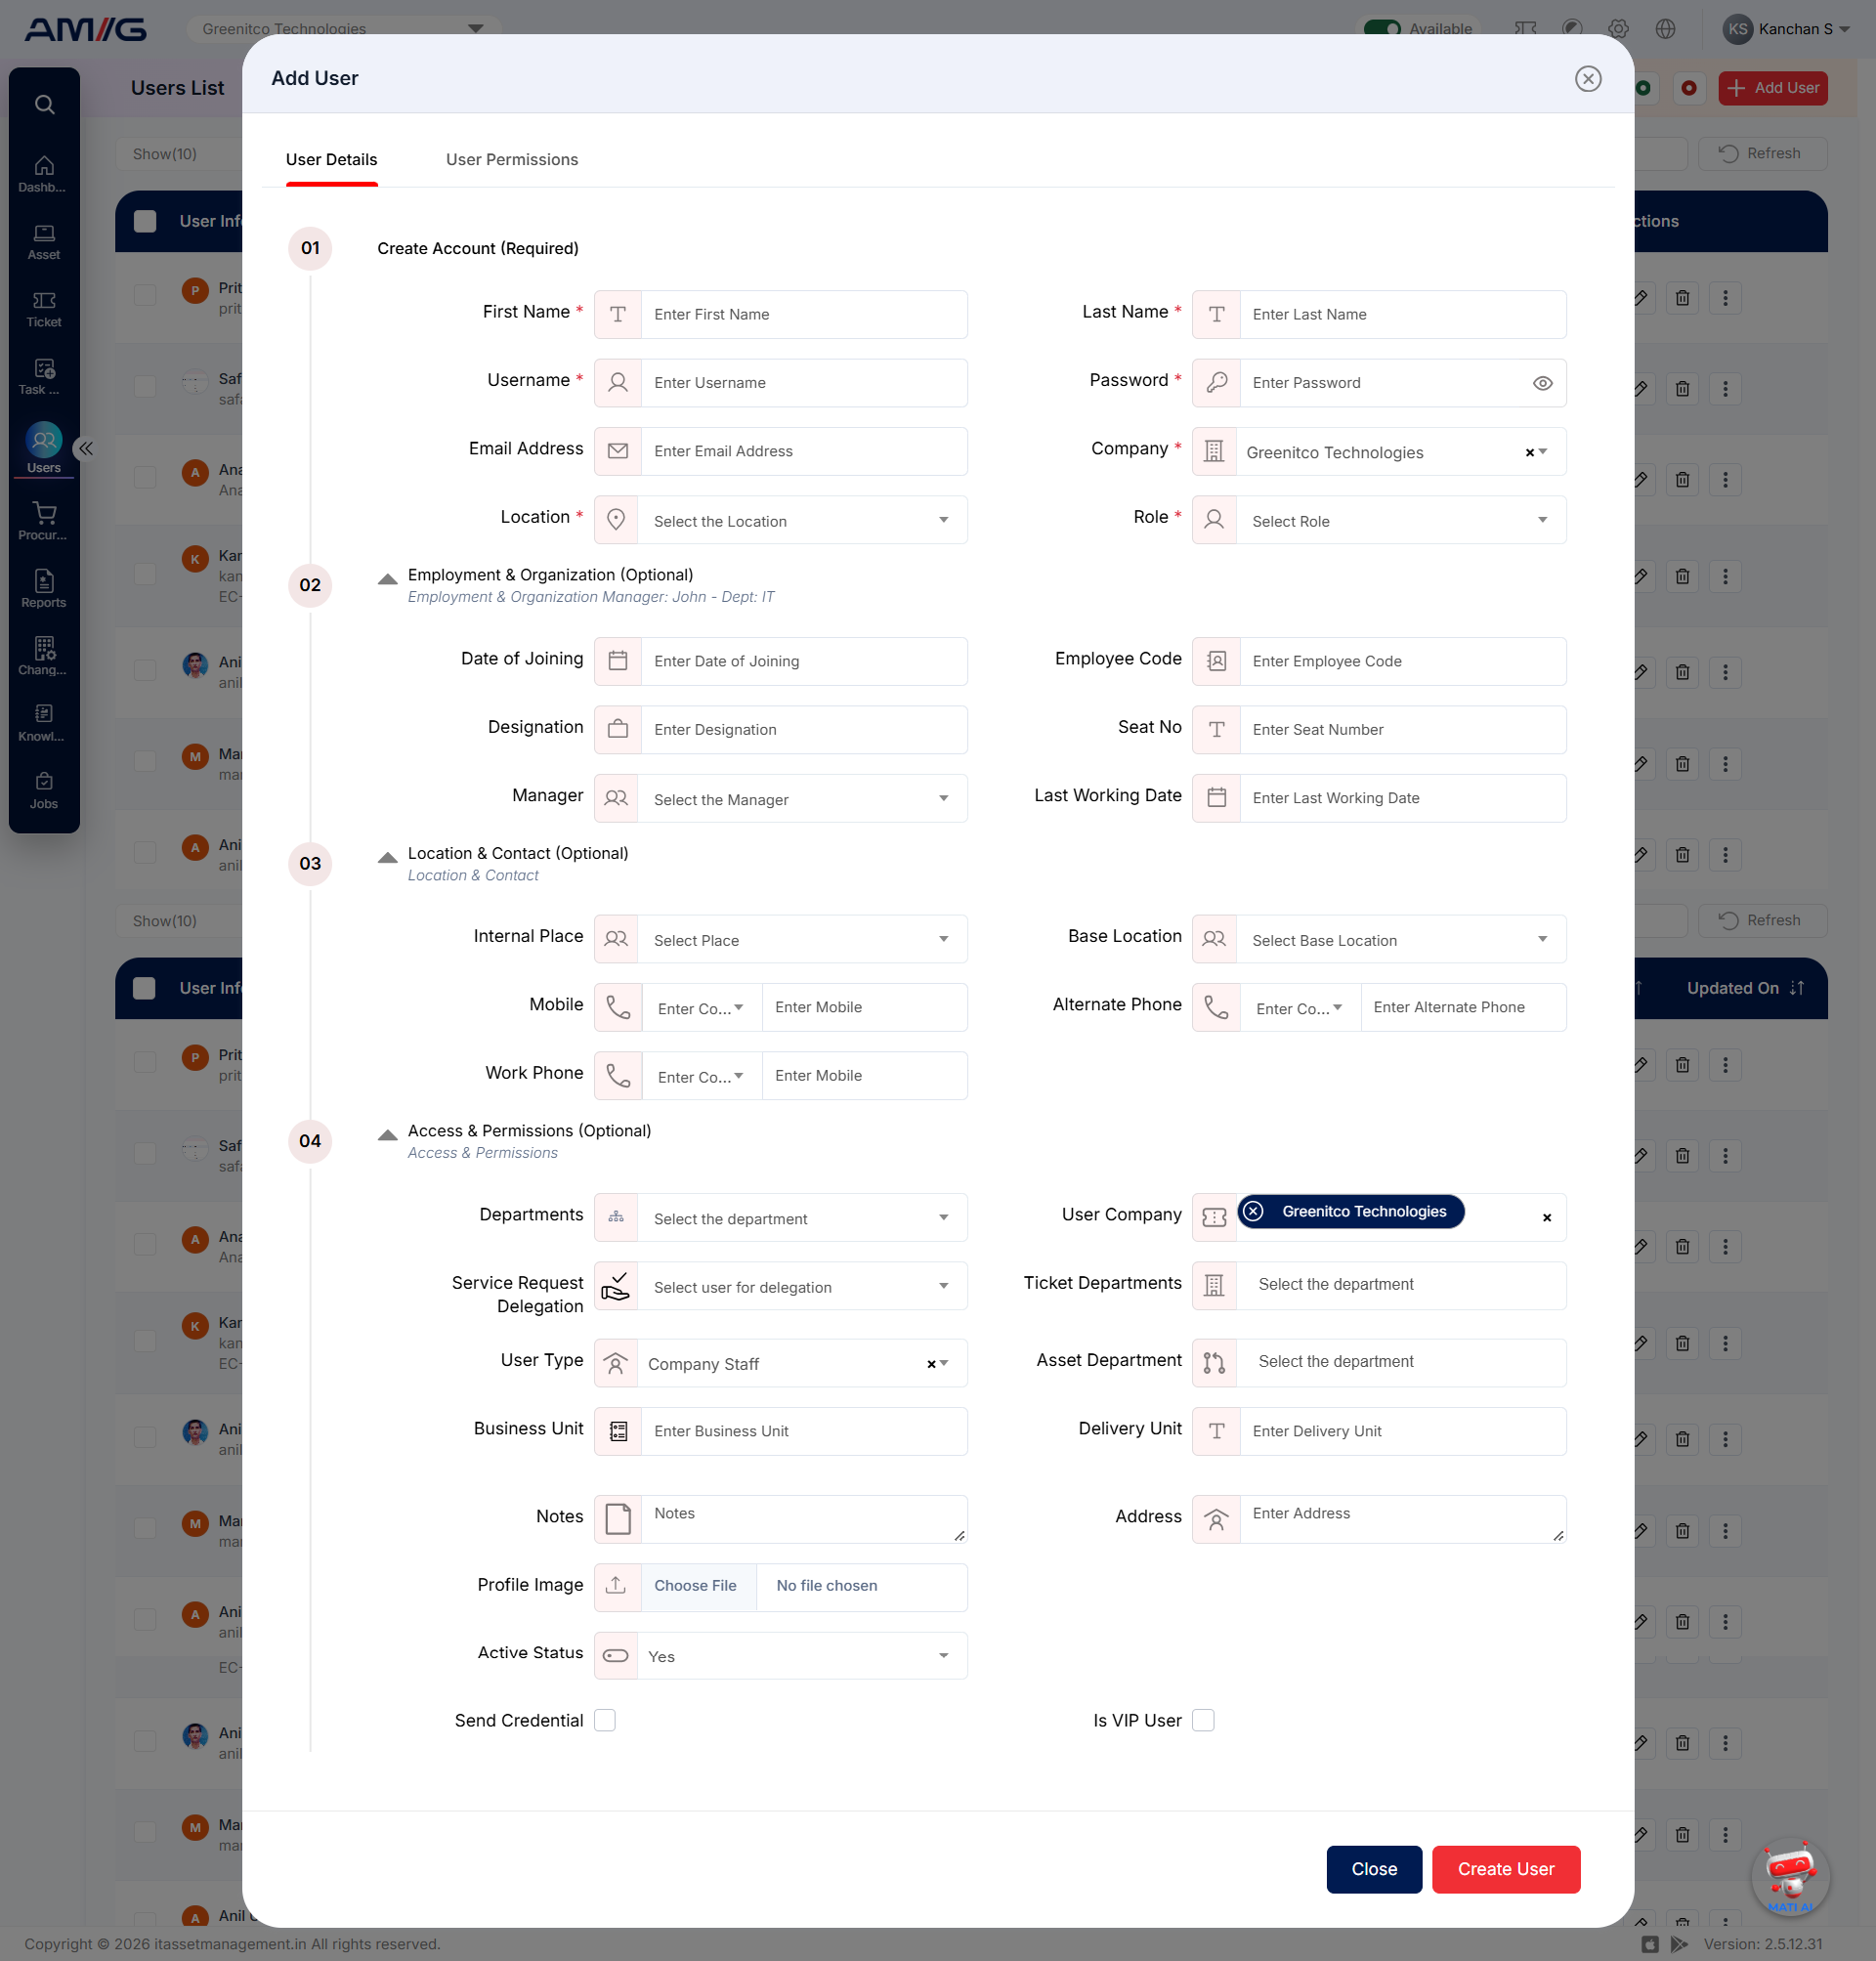
Figure: Add User – User Details tab
Step 4: Fill in the required fields on the User Details tab.
Step 5: Open the User Permissions tab and choose the access the user needs.
Step 6: Check everything once more.
Step 7: Click Create User. The new user now appears in the Users List.
Note: Fields marked with a red asterisk (*) are required. You cannot create the user until they are filled in.
User Details
The User Details tab is split into four groups. Only the first group is required.
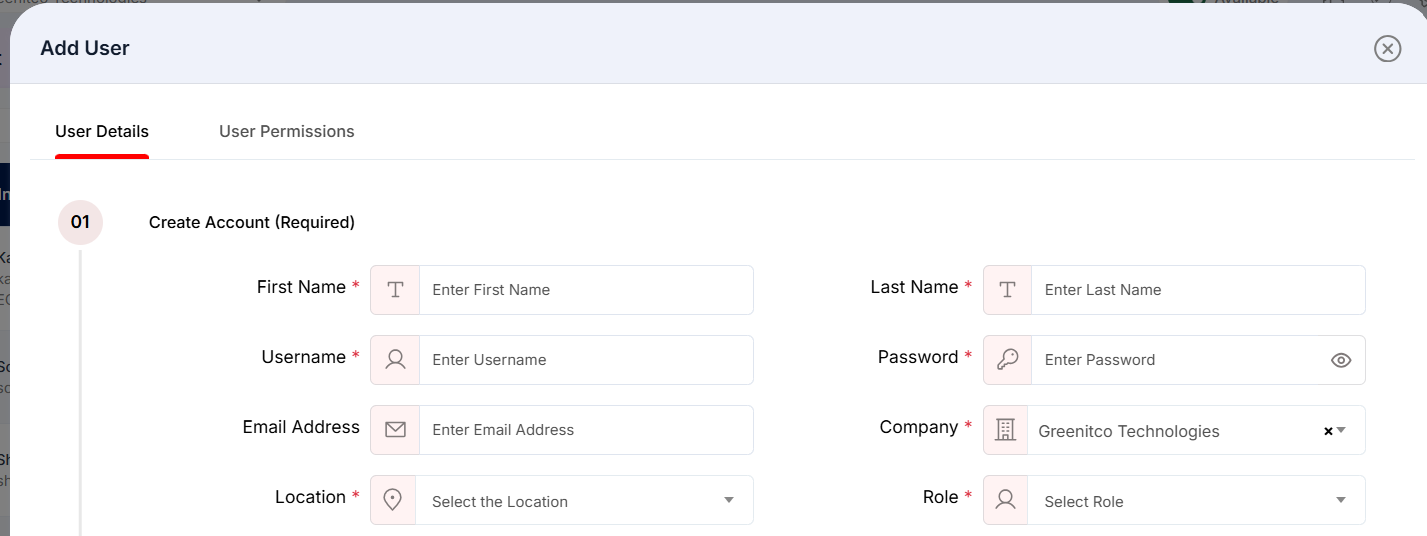
Create Account (Required)
Table: Create Account fields
| Field | Required? | What to enter |
|---|---|---|
| First Name | Yes | The user’s first name. |
| Last Name | Yes | The user’s last name. |
| Username | Yes | A unique name the user will log in with. |
| Password | Yes | The first password for the account. The user can change it later. |
| Email Address | No | The user’s email address. Needed if you want to email login details. |
| Company | Yes | The company the user belongs to. |
| Location | Yes | Where the user is based. This defines the location of the user which comes form configuration set from Header > Config > Location |
| Role | Yes | The role that decides what the user can see and do. This comes from the roles created from Sidebar > User Management > Role and Permission. |
Employment & Organisation (Optional)
Table: Employment & Organisation fields
| Field | Required? | What to enter |
|---|---|---|
| Date of Joining | No | The date the user joined the organizatio. |
| Employee Code | No | The user’s employee ID. |
| Designation | No | The user’s job title. |
| Seat No | No | The user’s desk or seat number. |
| Manager | No | The person the user reports to. |
| Last Working Date | No | The user’s last day, if they are leaving. |

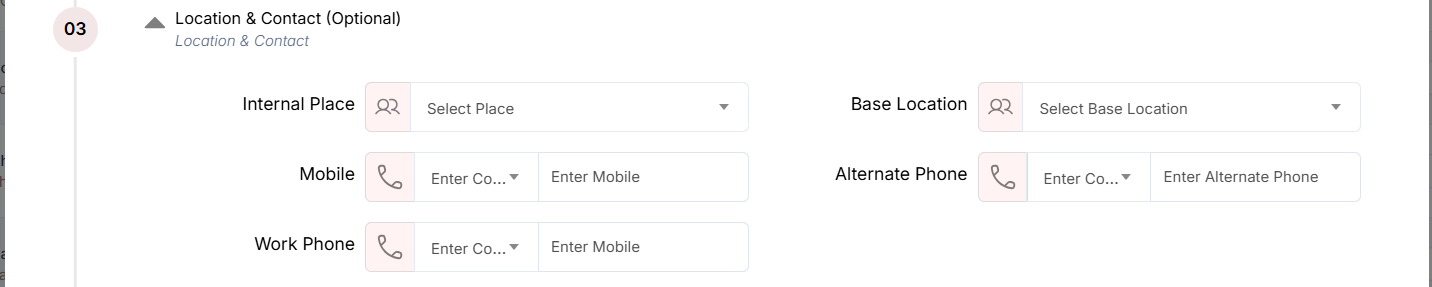
Location & Contact (Optional)
Table: Location & Contact fields
| Field | Required? | What to enter |
|---|---|---|
| Internal Place | No | The internal place (for example, a floor or room) linked to the user location this load as per the location set from location. This comes from the configured Header > Config > Internal Places |
| Base Location | No | The user’s main office location which refere to the users base.W |
| Mobile | No | Mobile number with country code. |
| Alternate Phone | No | A second phone number with country code. |
| Work Phone | No | Office phone number with country code. |
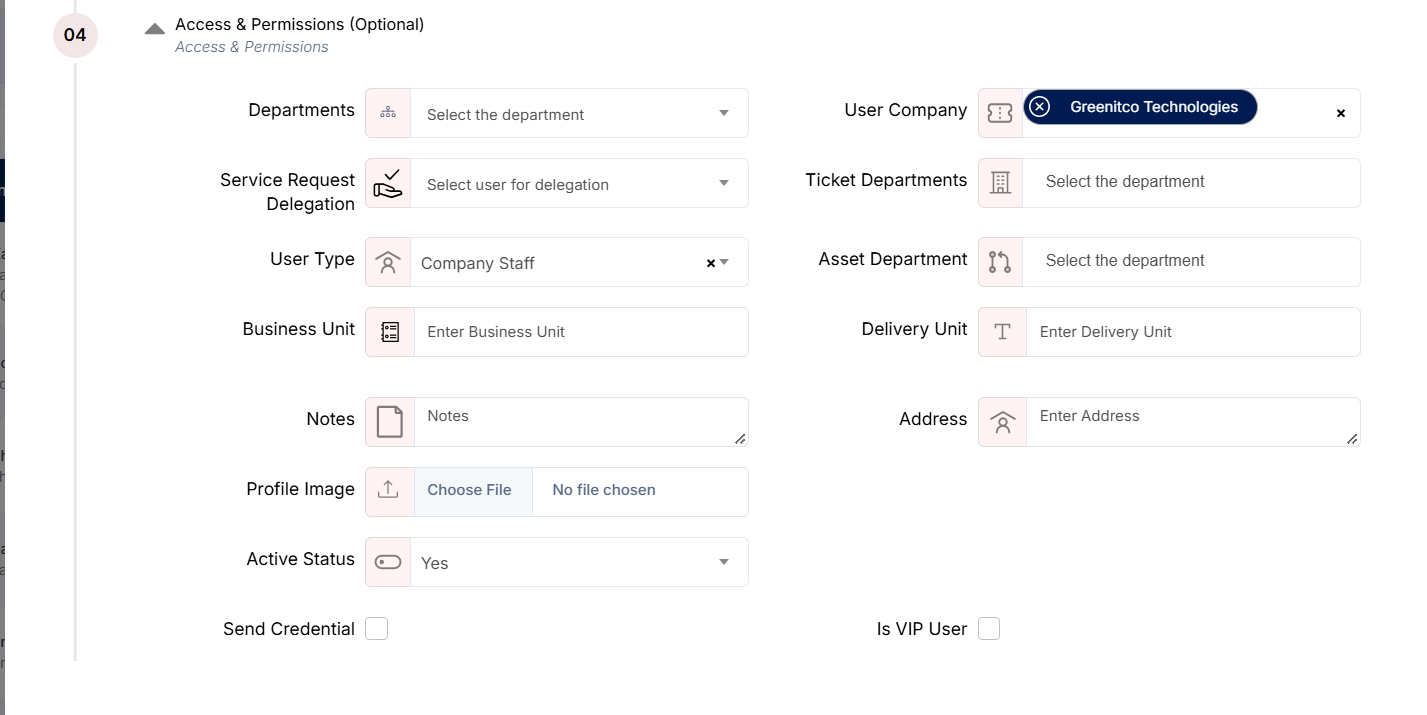
Access & Other Details (Optional)
Table: Access & other detail fields
| Field | Required? | What to enter |
|---|---|---|
| Departments | No | The department(s) the user belongs to configured at Header > Config > Department. |
| User Company | No | The company or companies linked to the user. |
| Service Request Delegation | No | Another user who can raise or handle service requests on this user’s behalf. |
| Ticket Departments | No | The departments whose tickets this user can access or be assigned if this user is set as technician. |
| User Type | No | Company Staff, Contract Staff or External User. |
| Asset Department | No | The department responsible for this user’s assets. The department for which user can see asset of, |
| Business Unit | No | The user’s business unit. |
| Delivery Unit | No | The user’s delivery unit. |
| Notes | No | Any extra information about the user. |
| Address | No | The user’s address. |
| Profile Image | No | A profile picture for the user. |
| Active Status | No | Active lets the user log in. Inactive blocks login. |
| Send Credential | No | Tick this to email the login details to the user. |
| Is VIP User | No | Tick this to mark the user as a VIP. |
User Permissions
The User Permissions tab controls whether a user can access the Service Tickets module and which companies the user can work with as a technician.
To define a user as a Technician, administrators must enable Service Tickets Access and assign the relevant Ticket Departments in the User Details tab. Only after these settings are configured will the user be designated as a technician within AMG.
If a technician is responsible for handling service tickets across multiple companies, administrators can configure Technician Company Access to specify the companies for which the technician is authorised to work.
Configuring Technician Access
-
Service Tickets Access: Enable this option to allow the user to access the Service Tickets module.
-
Ticket Departments: Assign the departments in which the user will handle service tickets. This is required to define the user as a technician.
-
Technician Company Access: Select the companies for which the technician is authorised to handle service tickets. This is useful when a technician supports multiple companies.
Important: Enabling Service Tickets Access alone does not define a user as a technician. The relevant Ticket Departments must also be assigned.
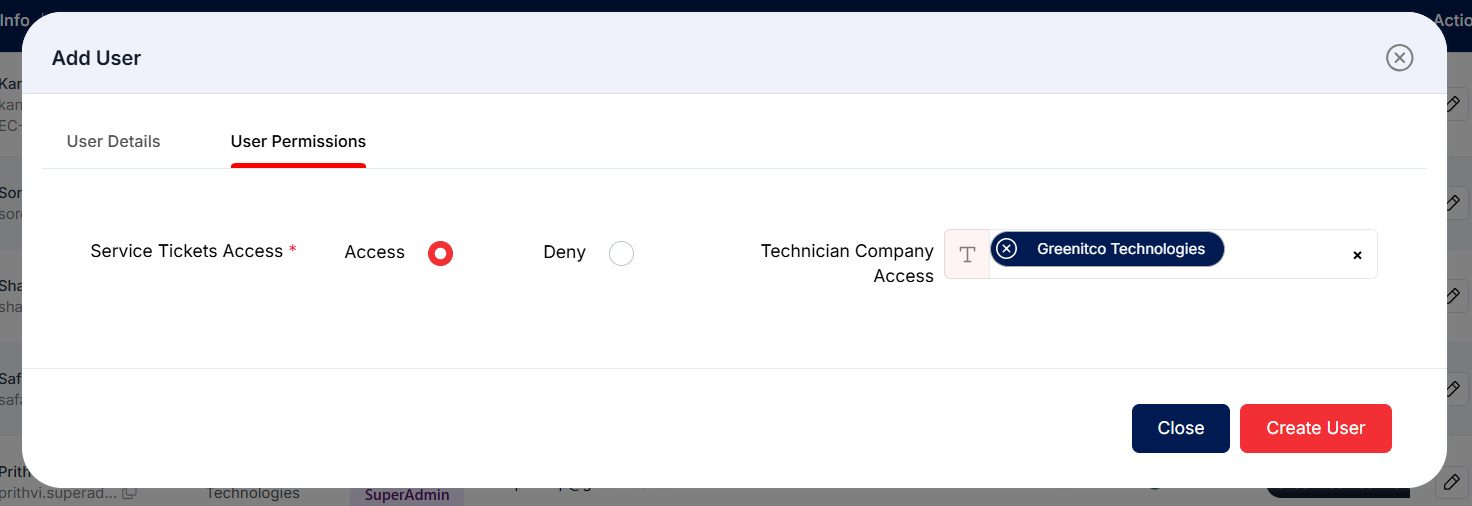
Figure: Add User – User Permissions tab
Table: User Permissions fields
| Field | Required? | What to choose |
|---|---|---|
| Service Tickets Access | Yes | Select Access to allow the user to access the Service Tickets module, or select Deny to restrict access. Important: When Access is enabled, the user will be counted as a Technician, and a Technician licence will be allocated to that user. |
| Technician Company Access | No | The company or companies this user can handle tickets for as a technician. |
Tip: The detailed permissions for each module (Reports, Config, Kanban and so on) come from the user’s Role, not from this tab. See section 1.2.