

Each user in the list has Edit and Delete icons, plus a three-dot menu (⋮) with more options.
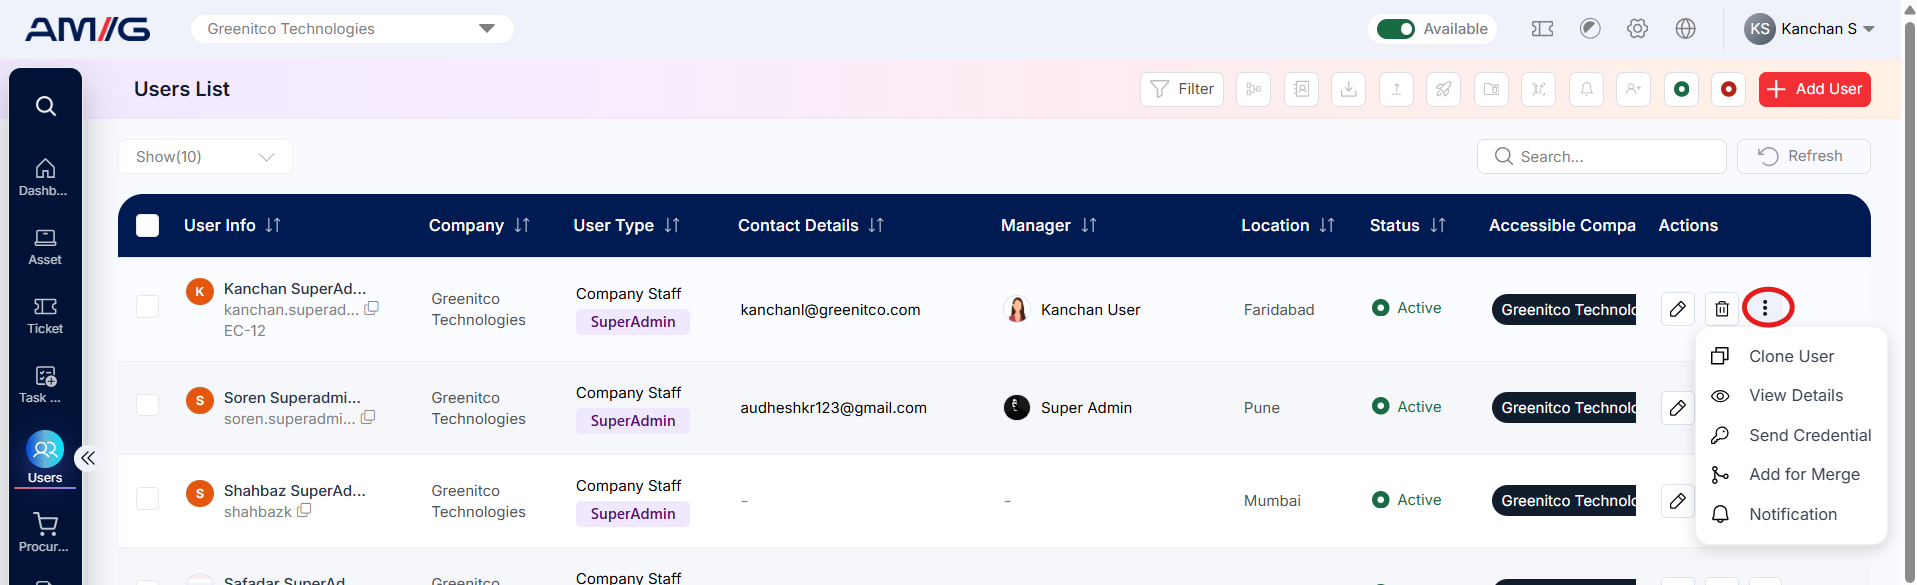
Figure: More options in the three-dot menu
Table: Options in the three-dot menu
| Option | What it does |
|---|---|
| Clone User | Creates a new user by copying this user’s details. |
| View Details | Shows all of this user’s information. |
| Send Credential | Sends the user their login details. |
| Add for Merge | Marks the user for merging with another account (useful for duplicates). |
| Notification | Opens a form to send this user an announcement. |
Editing a User
Step 1: Find the user in the Users List.
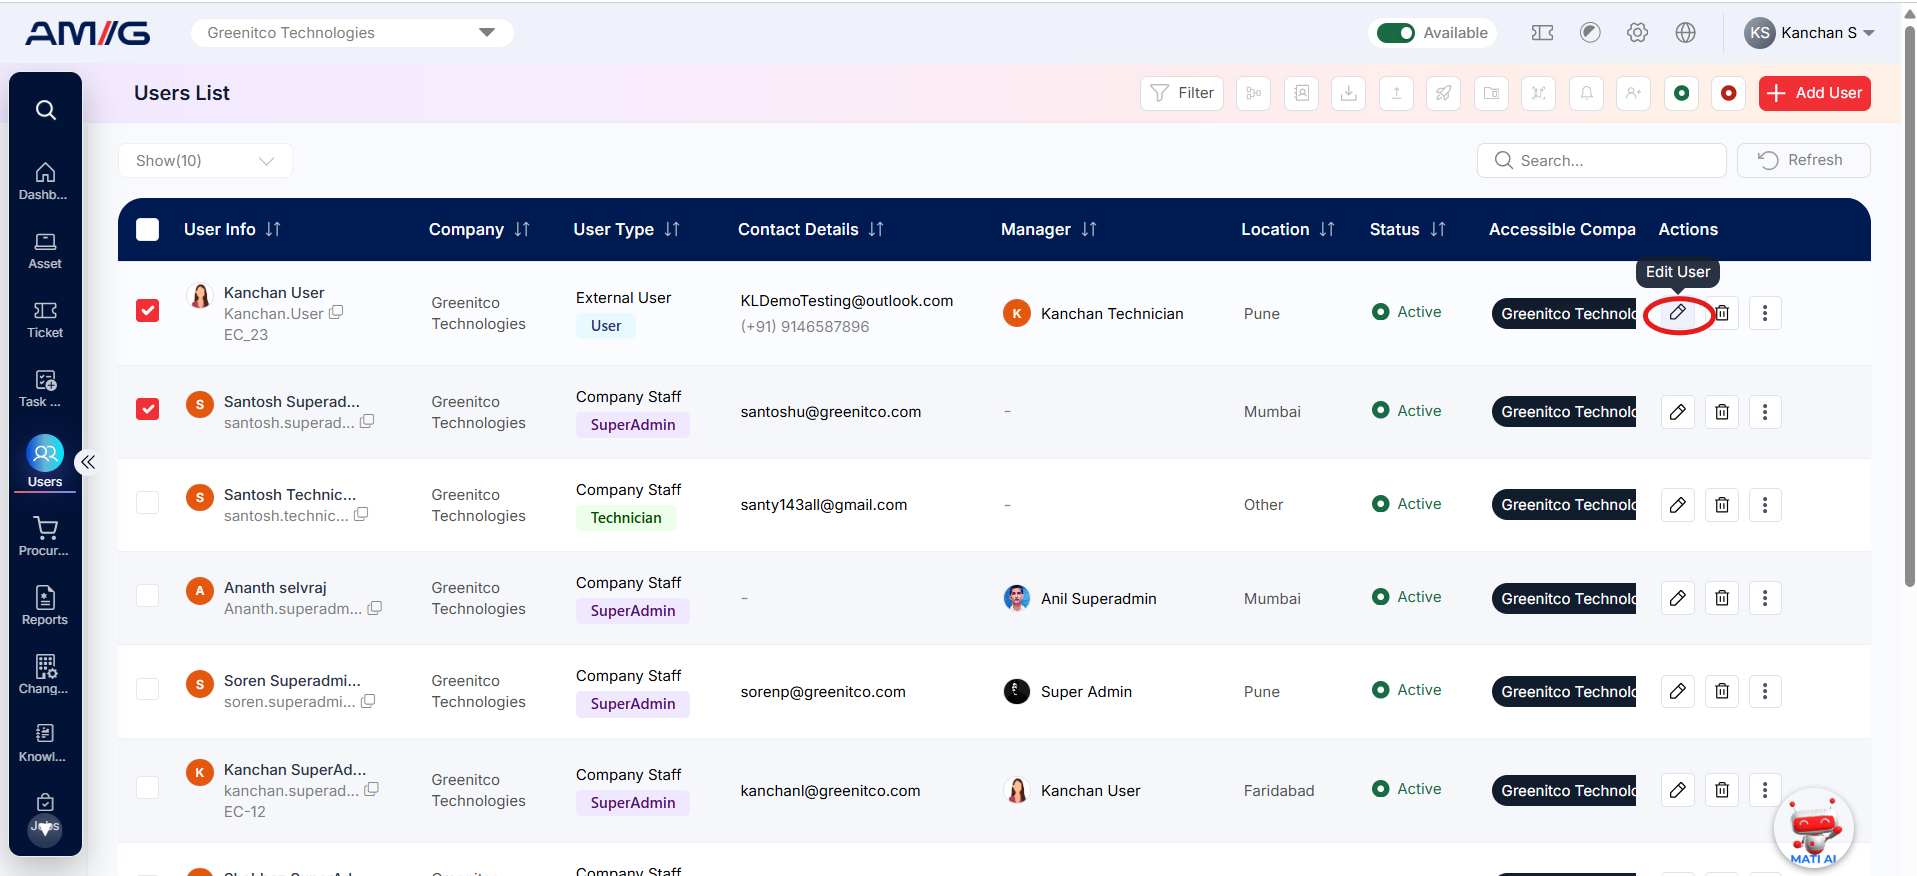
Step 2: Click the Edit icon on that row.
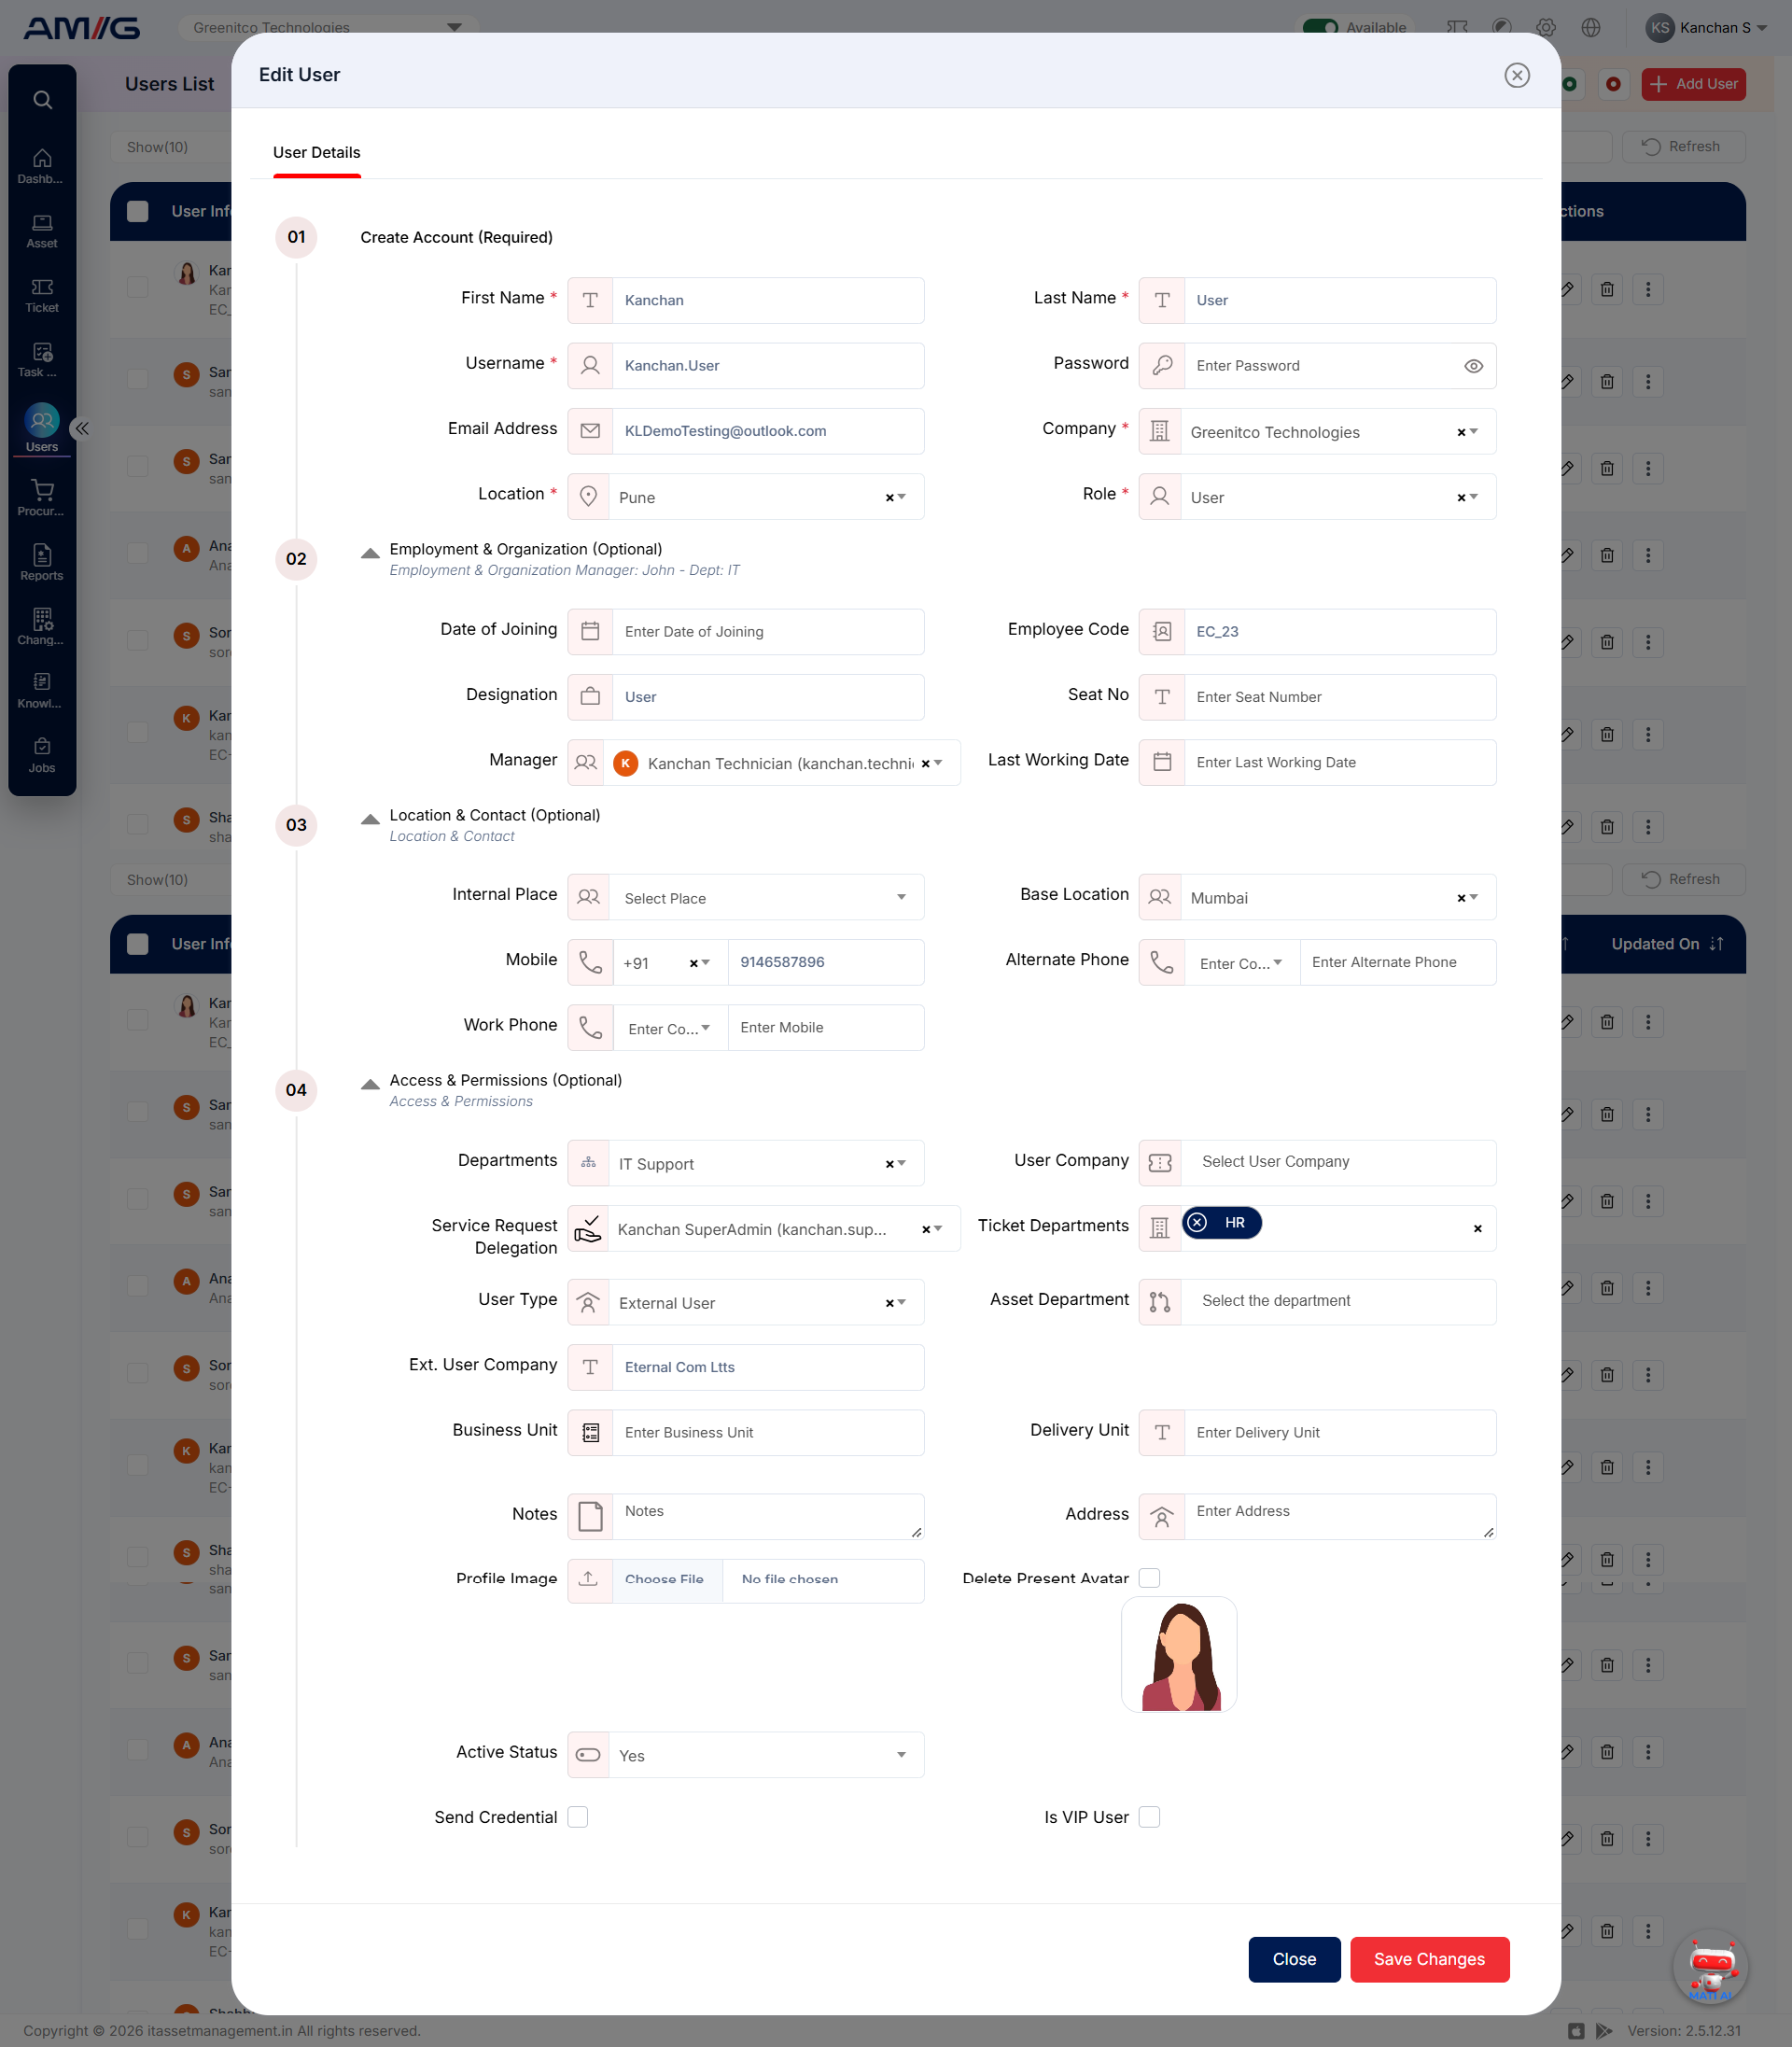
 Step 3: Change the details you need.
Step 4: Check the User Permissions tab and update it if needed.
Step 5: Save your changes.
Viewing User Details
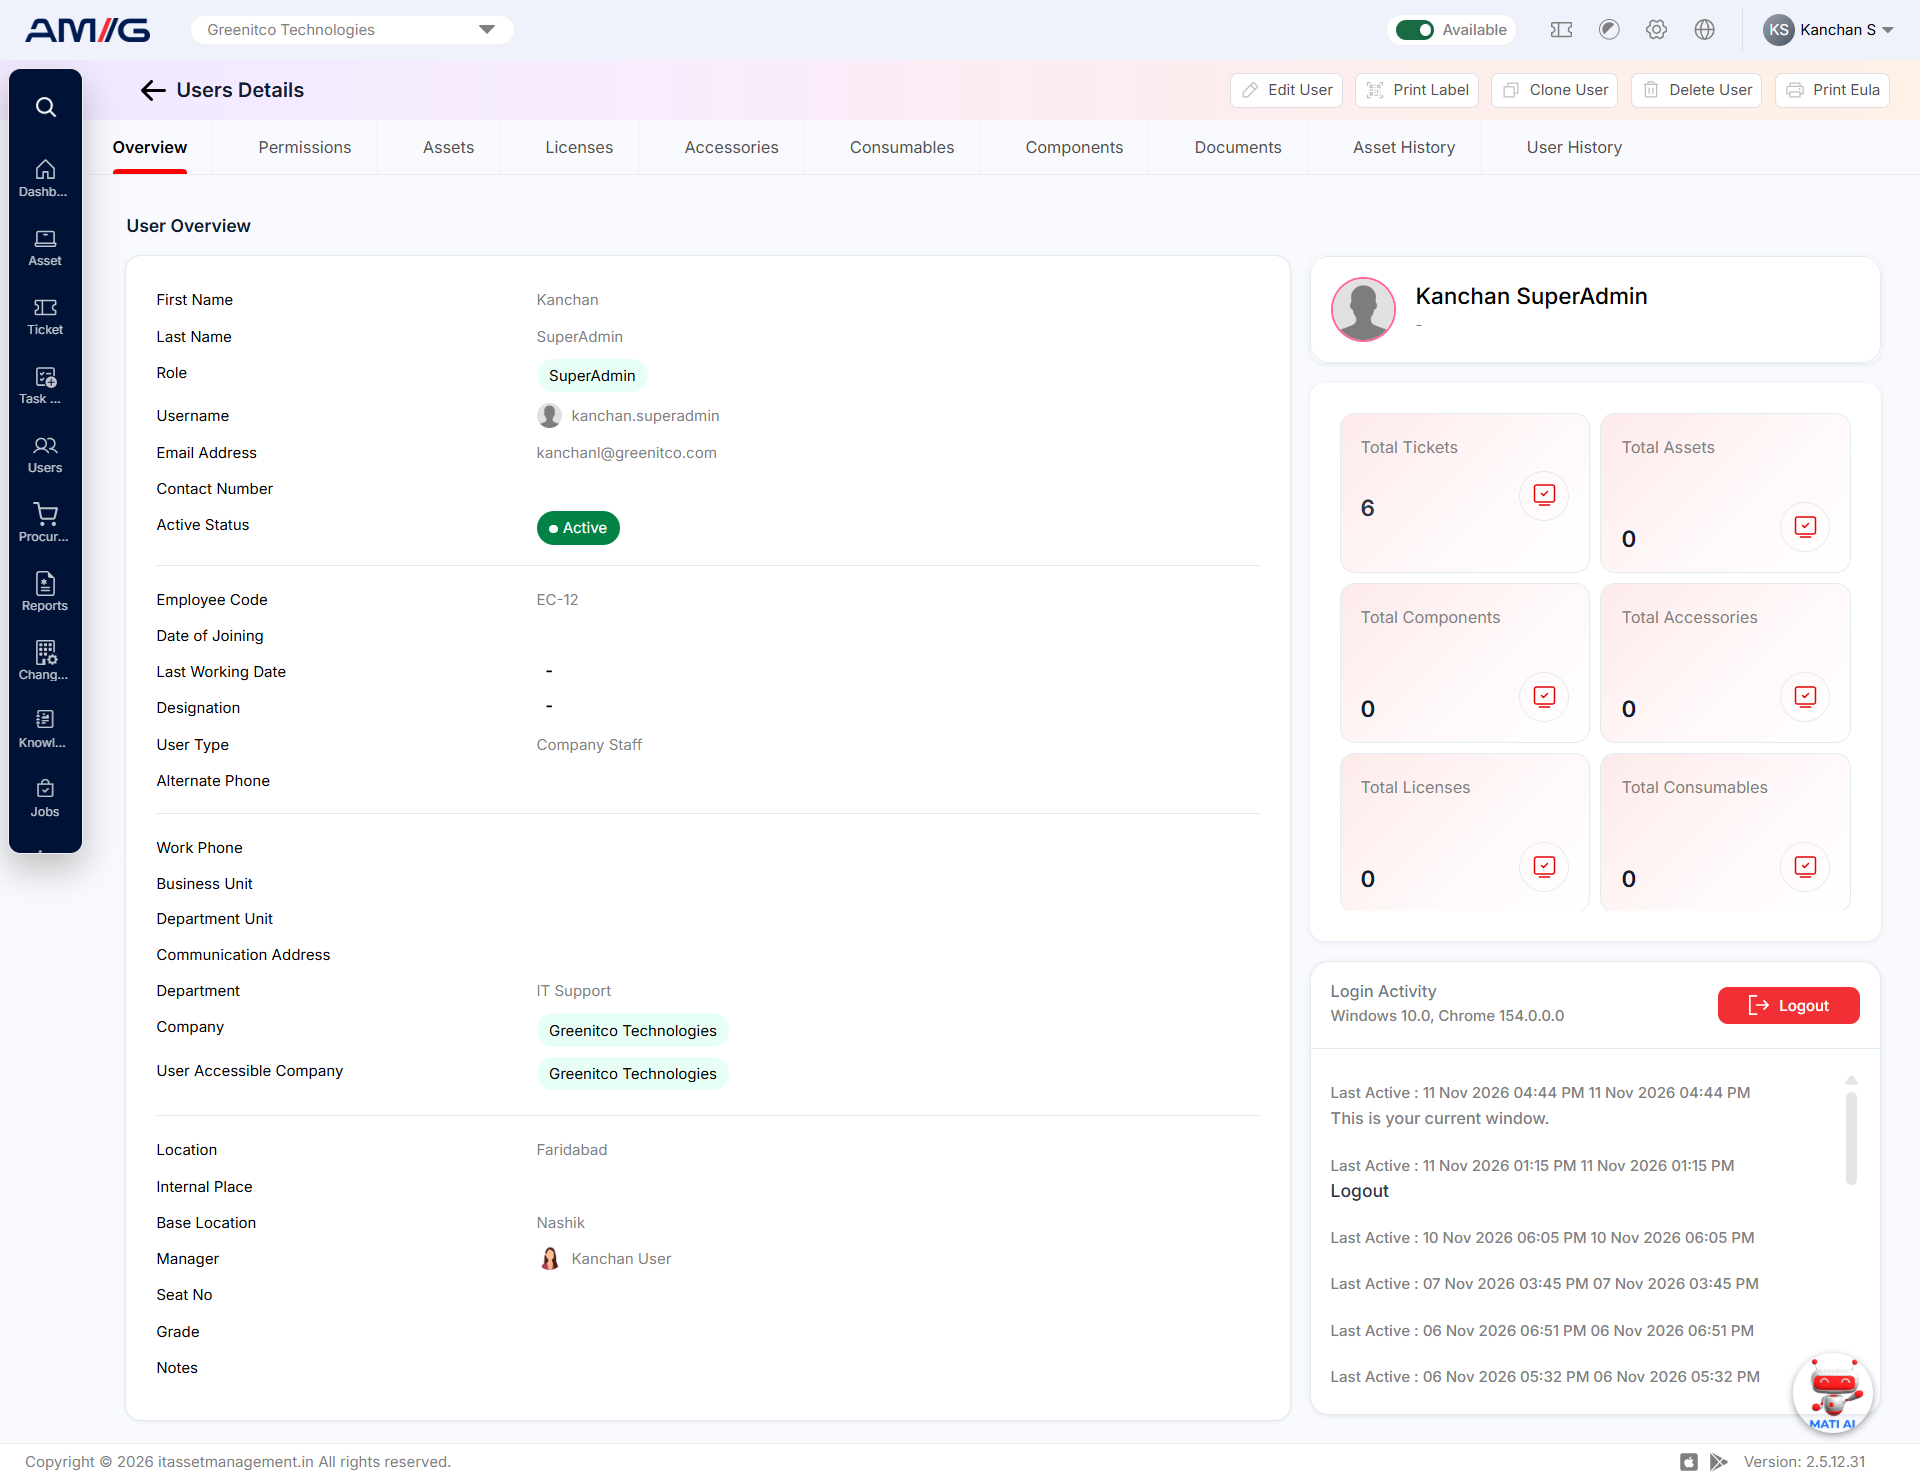
Step 1: Find the user and open the three-dot menu (⋮).
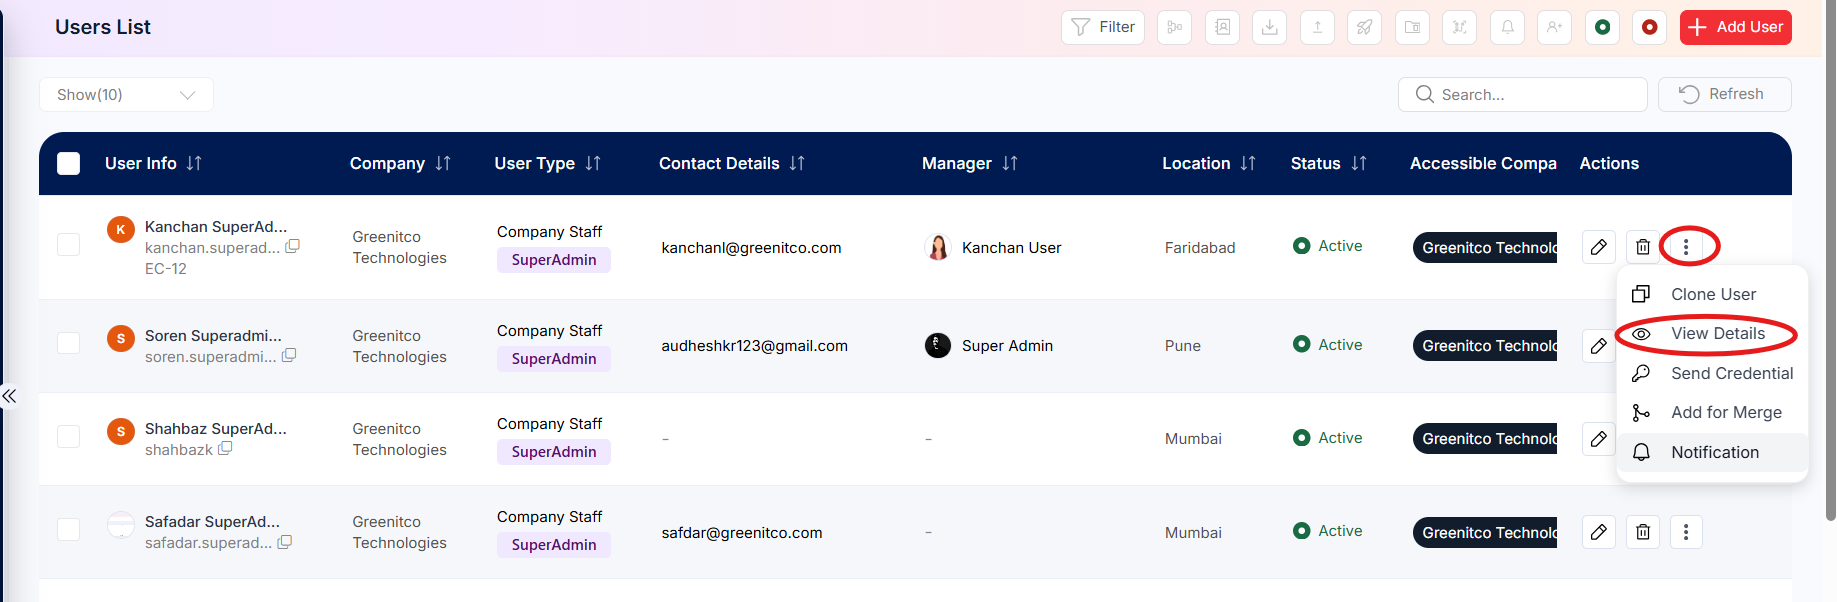 Step 2: Click View Details.
Sending Login Details
Step 1: Find the user and open the three-dot menu (⋮).
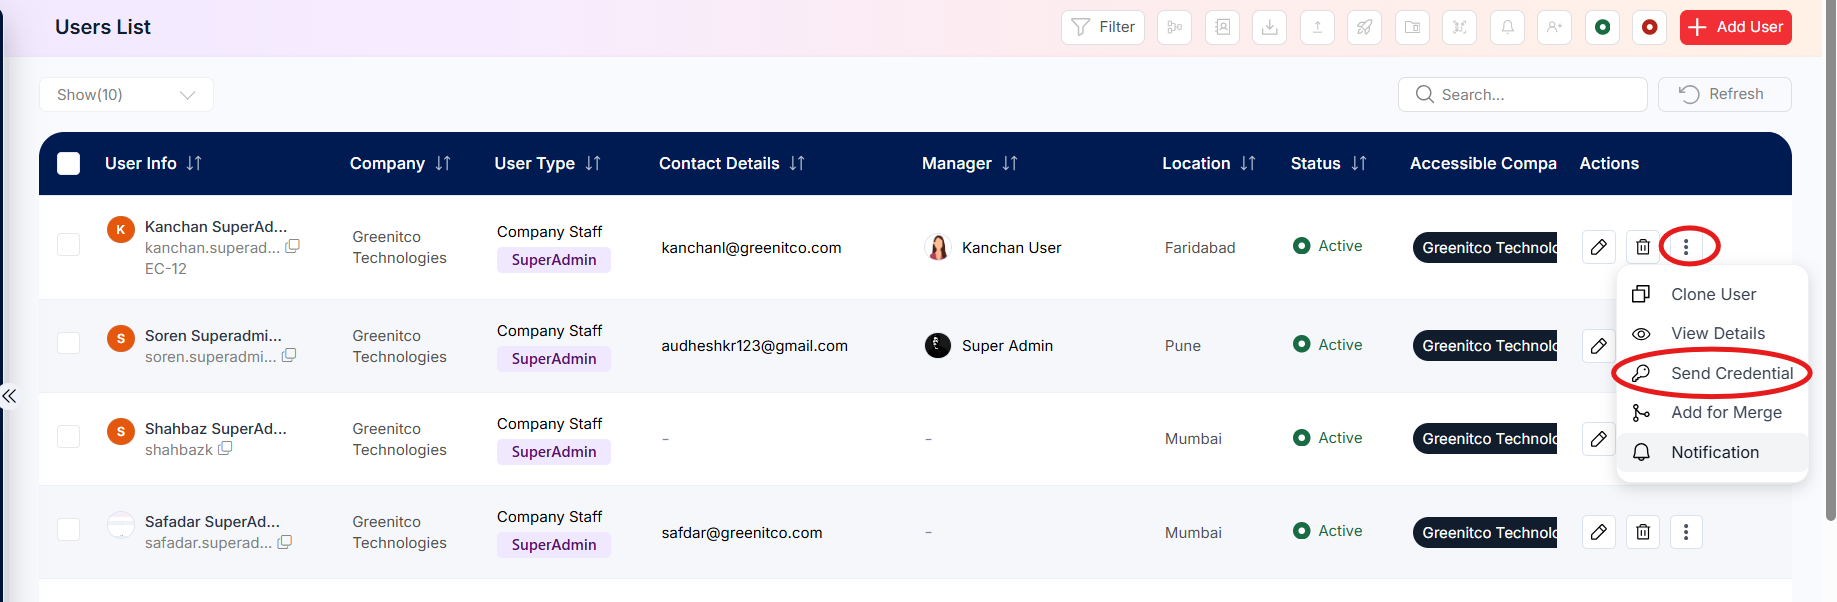 Step 2: Click Send Credential.
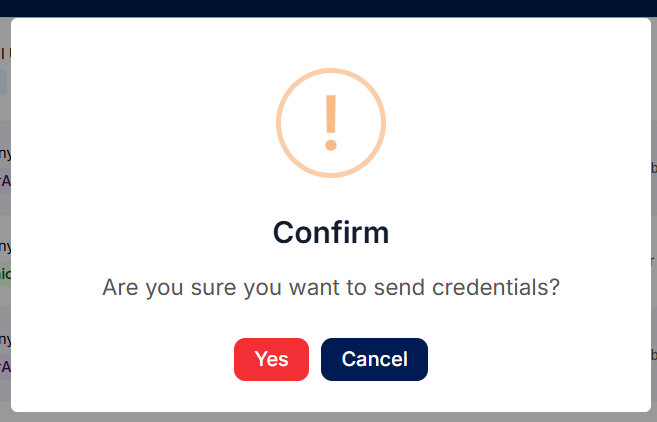
Note: Make sure the user’s email address and contact details are correct before you send their login details.
Merging Duplicate Users
Step 1: Find the user record that should be merged.
Step 2: Open the three-dot menu (⋮) and click Add for Merge.
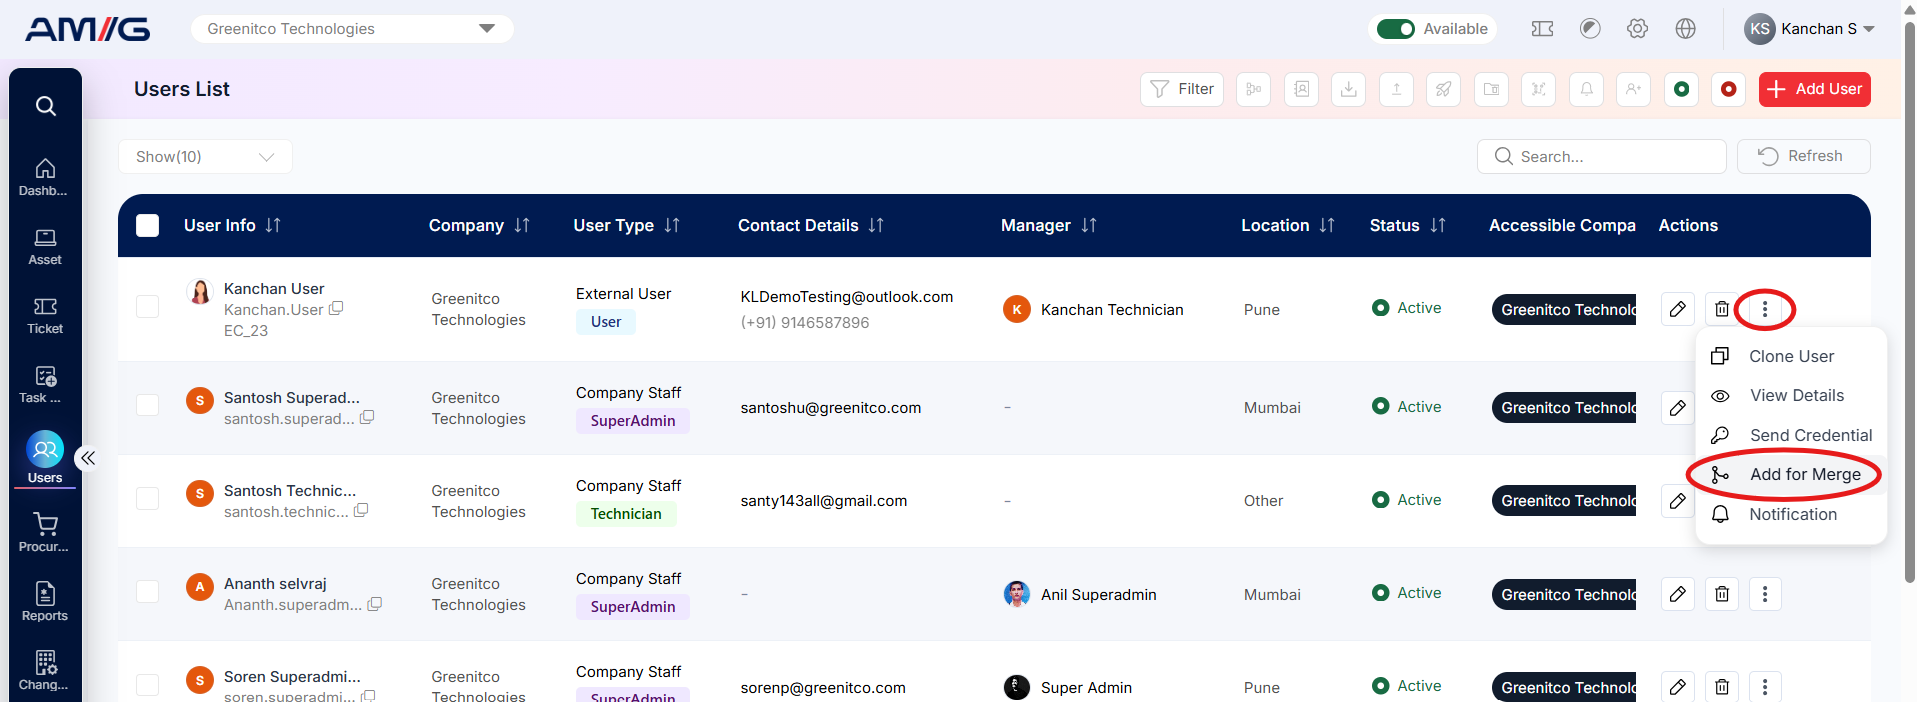 Step 3: Follow the on-screen steps to complete the merge.
Deleting a User
Step 1: Find the user you want to remove.
Step 2: Click the Delete icon on that row.
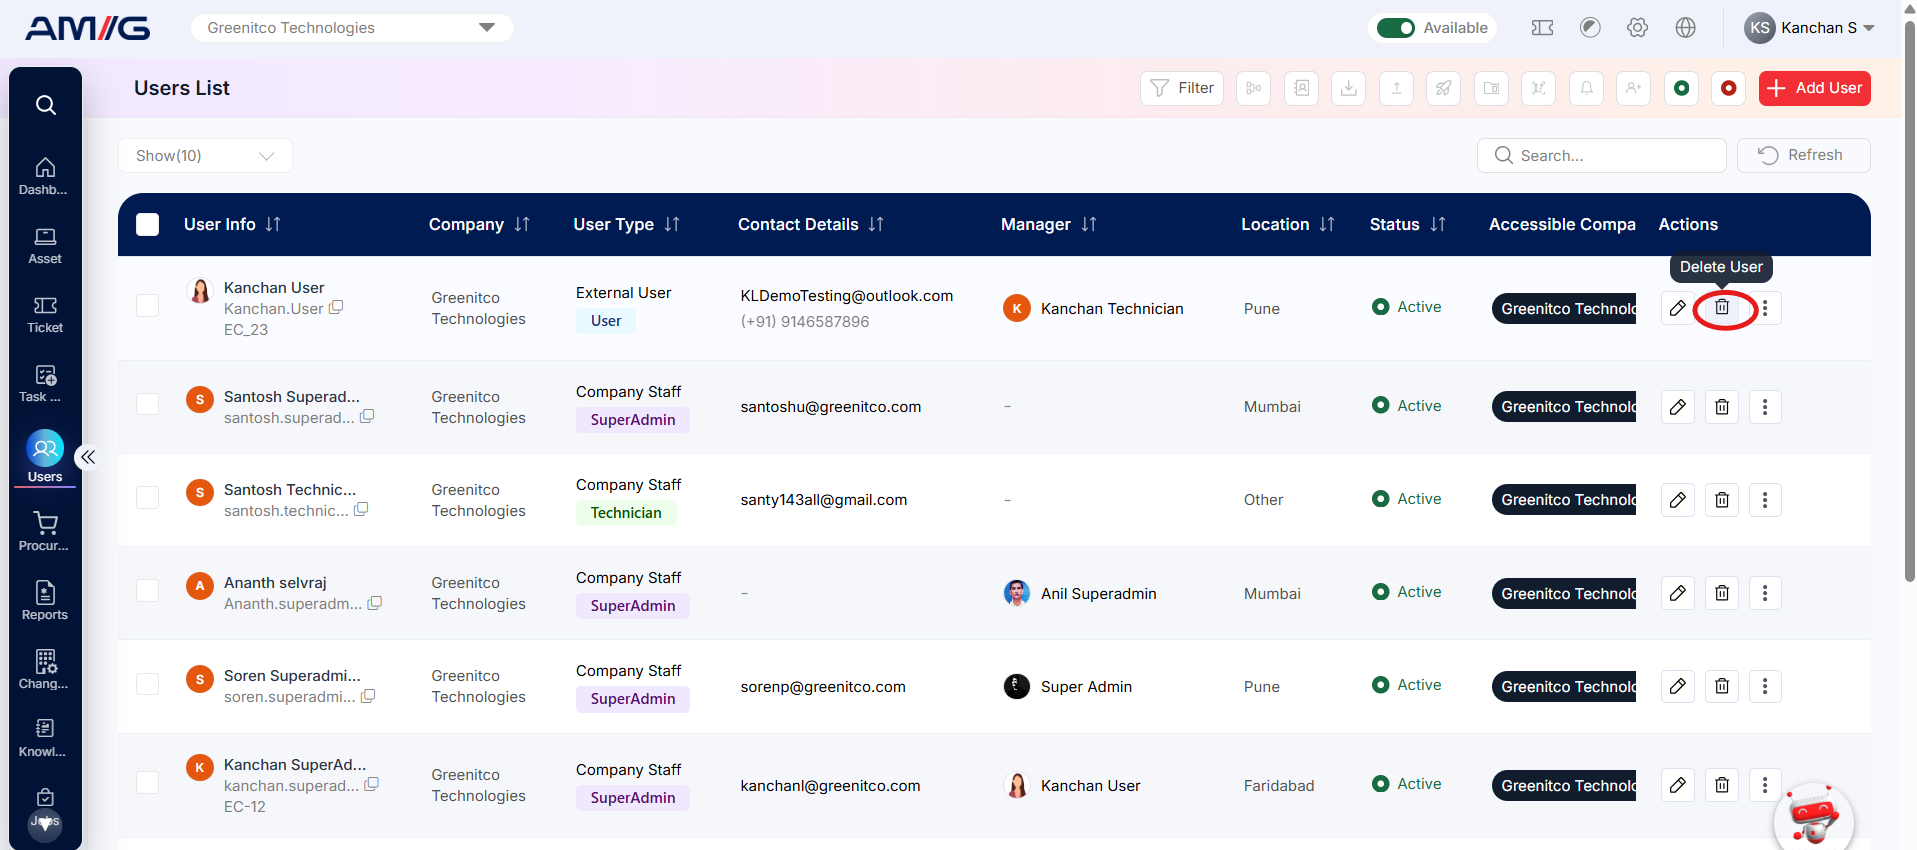 Step 3: Confirm when asked.
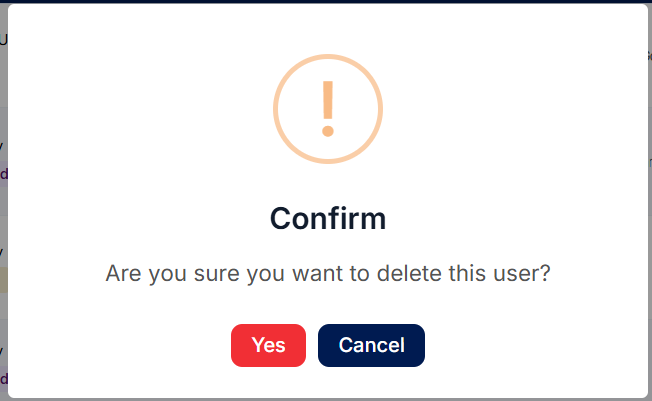
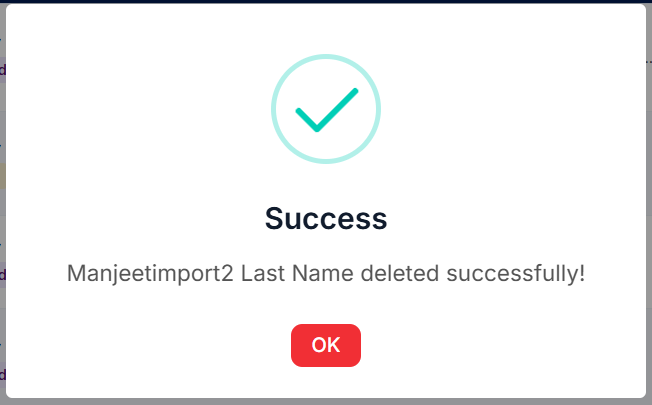
Important: Double-check that you have picked the right user. Once deleted, the person can no longer use AMG. If you only want to stop them logging in for now, set their status to Inactive instead.
Sending an Announcement to a User
Use Notification to show a message (announcement) to specific user for a set period of time.
Step 1: Find the user in the Users List.
Step 2: Open the three-dot menu (⋮) and click Notification.
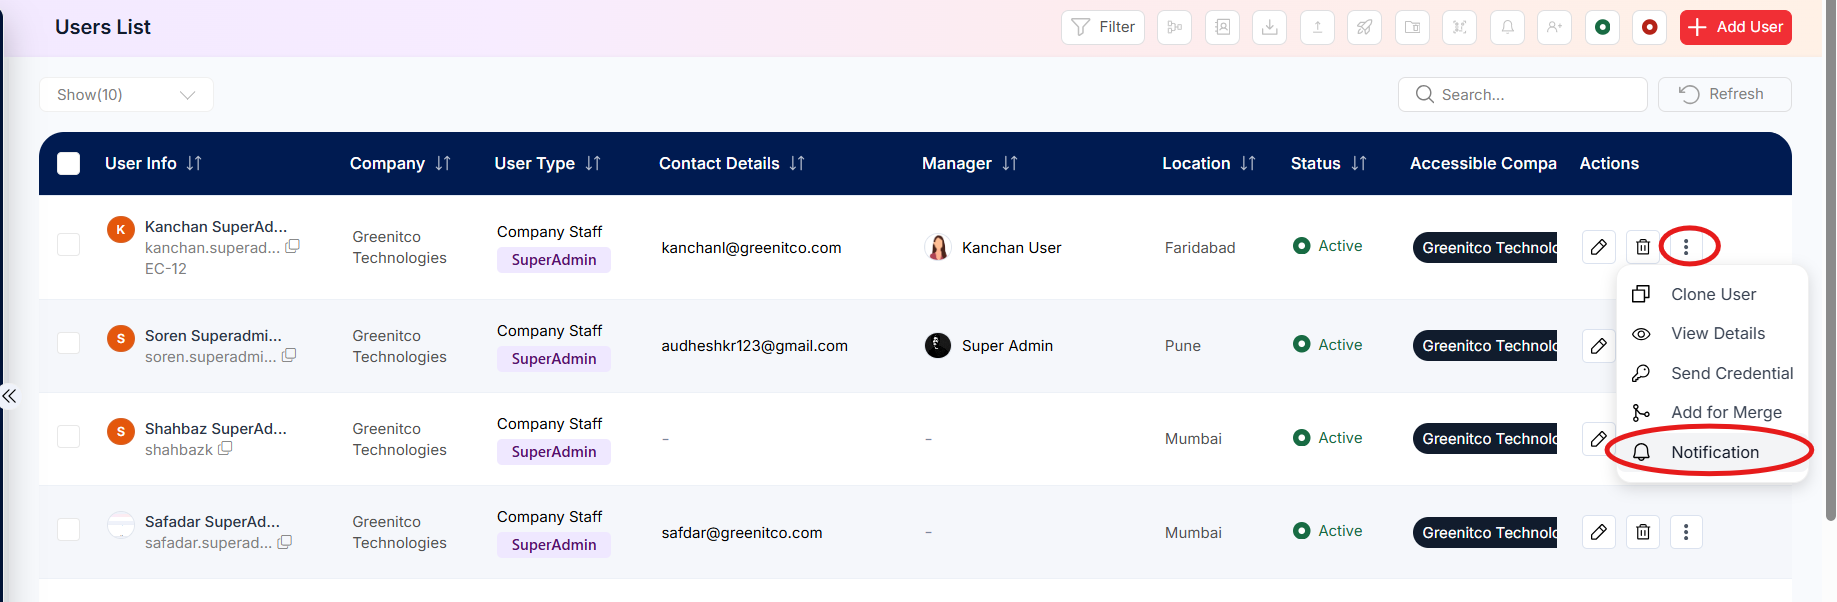
Table: Announcement fields
| Field | Required? | What to enter |
|---|---|---|
| Title | Yes | A short heading for the announcement. |
| Announcement | Yes | The message itself. You can use bold, italics, underline, colours and lists. |
| Start Date | Yes | When the announcement should start showing. |
| End Date | Yes | When the announcement should stop showing. |
| Users | Pre-filled | Who will receive the announcement. By default selected user will be selected. |
| Status | Pre-filled | Whether the announcement is Active. |
Step 3: Enter a title and the message.
Step 4: Set the Start Date and End Date.
Step 5: Check who will receive it and add or remove users if needed.
Step 6: Choose the status and click Save.
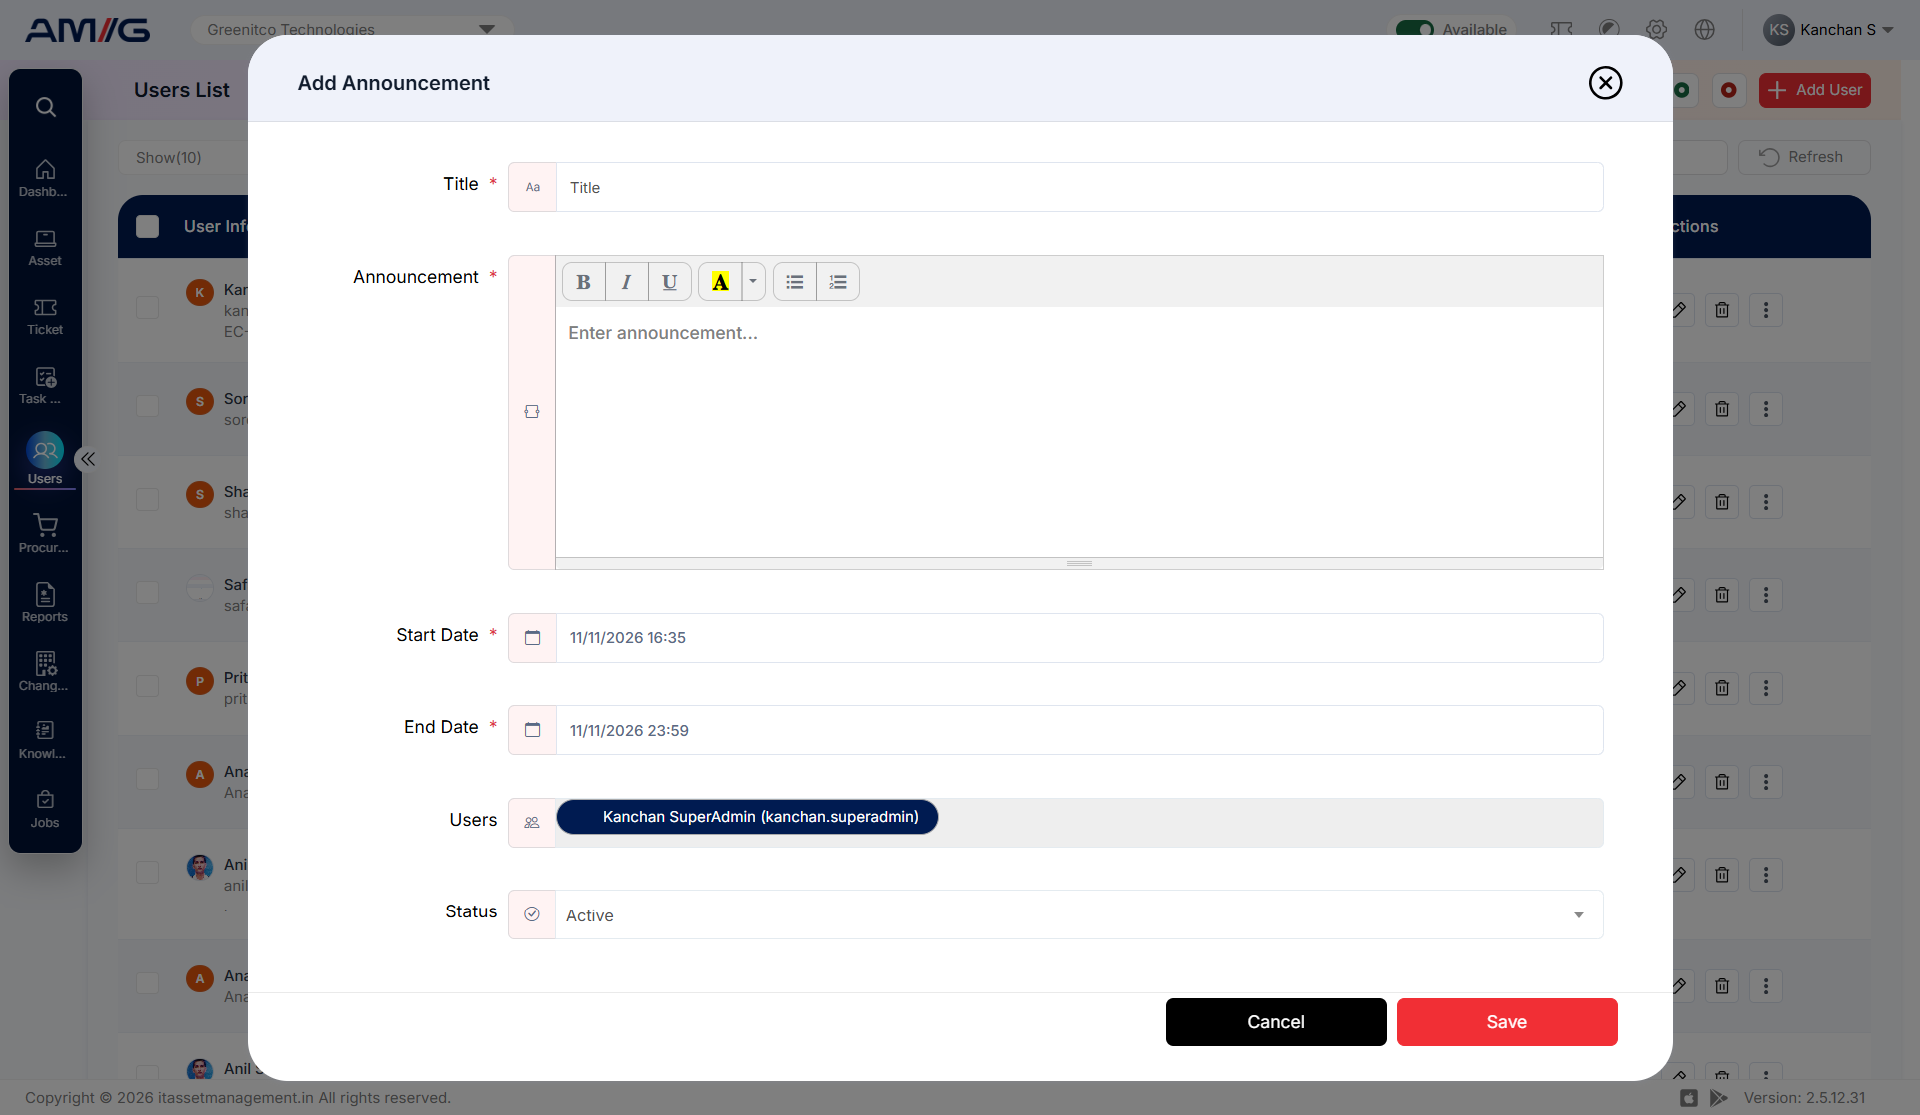
Figure: Add Announcement window
Note: Check the dates and the list of recipients before you save.